

JUMP TO:
Chaos Knights Specific Strategies
RULES / POINTS VERSION:
10th Edition, 2025 – 2026 Chapter Approved
March 2026 Balanced Dataslate and MFM Points Update
MATCHUP:
| Faction: | Detachment: |
| Chaos Knights | Houndpack Lance |
| VS | |
| Faction: | Detachment: |
| Necrons | Pantheon of Woe |
MISSION:
| GW Mission | A |
| Primary | Take & Hold |
| Terrain Layout | GW Terrain Layout 1 |
| Deployment | Tipping Point |
LISTS:
Chaos Knights:
List
Chaos Knights
Houndpack Lance
Strike Force (2,000 Points)
CHARACTERS
War Dog Brigand (150 Points)
• Houndpack Lance Keyword: Character
• 1x Armoured feet
• 1x Avenger chaincannon
• 1x Daemonbreath spear
• 1x Havoc multi-launcher
• Enhancements: Loping Predator
War Dog Karnivore (150 Points)
• Houndpack Lance Keyword: Character
• 1x Havoc multi-launcher
• 1x Reaper chaintalon
• 1x Slaughterclaw
War Dog Stalker (140 Points)
• Warlord
• Houndpack Lance Keyword: Character
• 1x Daemonbreath spear
• 1x Havoc multi-launcher
• 1x Slaughterclaw
BATTLELINE
War Dog Brigand (140 Points)
• 1x Armoured feet
• 1x Avenger chaincannon
• 1x Daemonbreath spear
• 1x Havoc multi-launcher
War Dog Brigand (140 Points)
• 1x Armoured feet
• 1x Avenger chaincannon
• 1x Daemonbreath spear
• 1x Havoc multi-launcher
War Dog Brigand (140 Points)
• 1x Armoured feet
• 1x Avenger chaincannon
• 1x Daemonbreath spear
• 1x Havoc multi-launcher
War Dog Huntsman (140 Points)
• 1x Daemonbreath meltagun
• 1x Daemonbreath spear
• 1x Reaper chaintalon
War Dog Huntsman (140 Points)
• 1x Daemonbreath meltagun
• 1x Daemonbreath spear
• 1x Reaper chaintalon
War Dog Huntsman (140 Points)
• 1x Daemonbreath meltagun
• 1x Daemonbreath spear
• 1x Reaper chaintalon
War Dog Karnivore (150 Points)
• 1x Havoc multi-launcher
• 1x Reaper chaintalon
• 1x Slaughterclaw
War Dog Karnivore (150 Points)
• 1x Havoc multi-launcher
• 1x Reaper chaintalon
• 1x Slaughterclaw
War Dog Stalker (140 Points)
• 1x Daemonbreath spear
• 1x Havoc multi-launcher
• 1x Slaughterclaw
War Dog Stalker (140 Points)
• 1x Daemonbreath spear
• 1x Havoc multi-launcher
• 1x Slaughterclaw
War Dog Stalker (140 Points)
• 1x Daemonbreath spear
• 1x Havoc multi-launcher
• 1x Slaughterclaw

Necrons:
List
Necrons
Pantheon of Woe
Strike Force (2,000 Points)
CHARACTERS
C’tan Shard of the Deceiver (350 Points)
• 1x Cosmic insanity
• 1x Golden fists
C’tan Shard of the Nightbringer (370 Points)
• 1x Gaze of death
• 1x Scythe of the Nightbringer
Hexmark Destroyer (75 Points)
• Warlord
• 1x Close combat weapon
• 1x Enmitic disintegrator pistols
Transcendent C’tan (355 Points)
• 1x Crackling tendrils
• 1x Seismic assault
Transcendent C’tan (355 Points)
• 1x Crackling tendrils
• 1x Seismic assault
OTHER DATASHEETS
Deathmarks (60 Points)
• 5x Deathmark
◦ 5x Close combat weapon
◦ 5x Synaptic disintegrator
Deathmarks (60 Points)
• 5x Deathmark
◦ 5x Close combat weapon
◦ 5x Synaptic disintegrator
Flayed Ones (60 Points)
• 5x Flayed One
◦ 5x Flayer claws
Ophydian Destroyers (80 Points)
• 3x Ophydian Destroyer
◦ 3x Ophydian hyperphase weapons
Ophydian Destroyers (80 Points)
• 3x Ophydian Destroyer
◦ 3x Ophydian hyperphase weapons
Tomb Blades (75 Points)
• 3x Tomb Blade
◦ 3x Close combat weapon
◦ 3x Shadowloom
◦ 3x Twin tesla carbine
Tomb Blades (75 Points)
• 3x Tomb Blade
◦ 3x Close combat weapon
◦ 3x Shadowloom
◦ 3x Twin tesla carbine

FACTION SPECIFIC STRATEGIES:
Chaos Knights: This one is relatively new to me and I wouldn’t consider myself a “Knights Main”. This will be my 3rd time playing this detachment. That said I have won both prior games and really enjoyed it each time that I have played it.
From a list perspective, it is pretty straight forward as I simply have 14 War Dogs, with the breakdown being 4 Stalkers and Brigands to go with 3 Karnivores and Huntsmen. I debated dropping a War Dog for some Daemon allies and more enhancements, specifically the Preyslayer’s Mantle in order to go thru terrain, but ultimately settled on running the maximum number of War Dogs.
From a play perspective, I typically move out my Stalkers and Karnivores early to try to start pushing the opponent while keeping the Brigands back to pepper them with ranged shooting. The Huntsmen are then used to strategically pick off enemy Monsters and Vehicles by coming out of reserves or using stratagems (see below).
Win Condition: This matchup will be interesting because it is one of the few matchups where the Chaos Knights can’t bully or stat check their opponent. That advantage goes to the Necrons in this matchup because…C’Tan. Instead, I think the Chaos Knights will need to invert their usual strategy and put the Brigands and Karnivores out early to pick off the Necrons’ secondary scoring units. They should then save the Huntsmen and Stalkers until later in the game to hopefully pickoff a C’Tan or two. The Chaos Knights will win if they can eliminate the Necrons’ ability to score Secondaries while also killing at least 1 C’Tan. They will lose if they can’t kill the C’Tan or stop the Necrons from scoring Secondaries.
What I Want to Work On This Game: My board control and model spacing discipline. The Transcendent C’Tan are the most terrifying units in the Necrons’ list due to their ability to teleport around the board and come in 6 inches away from enemy units. That makes them a real threat to teleport in, pop a War Dog, and then do it again next turn. I’ll have to screen them out to prevent getting picked apart while the Nightbringer blitzes me from the front.
| Category | Description |
| Warlord: | War Dog Stalker |
| Leader / Bodyguard Combos: | N/A |
| Transport / Infantry Combos: | N/A |
| Strategic Reserves: | War Dog Huntsman, War Dog Brigand |
| Key Strategems: | Cunning Hunter – Used in your Movement Phase just after a War Dog falls back to give it Fall Back and Shoot/Charge. |
| Harrying Hounds – Used in your opponent’s Movement Phase to reactive move up to 6 inches if they finish a Normal, Advance, or Fall Back move within 9 inches of you. | |
| Animalistic Rage – Used in your opponent’s Shooting or Fight Phase to Shoot or Fight on Death. Must target the unit that just killed it. | |
| Encircling Pack – Used at the end of your opponent’s Fight Phase to pick up a War Dog that is within 12 inches of a board edge and not in Engagement Range and put it into Strategic Reserves. | |
| Key Combos: | None |
Necrons:
And here comes one of the meta boogeymen. Pantheon of Woe isn’t the best way to play Necrons currently, that would be Awakened or Starshatter, but it is definitely one of the most polarizing detachments because it encourages “C’Tan spam”. I’m going to try it out now that it has been nerf’d a bit, even though it is being questioned in the community if it was enough to bring the C’Tan into balance.
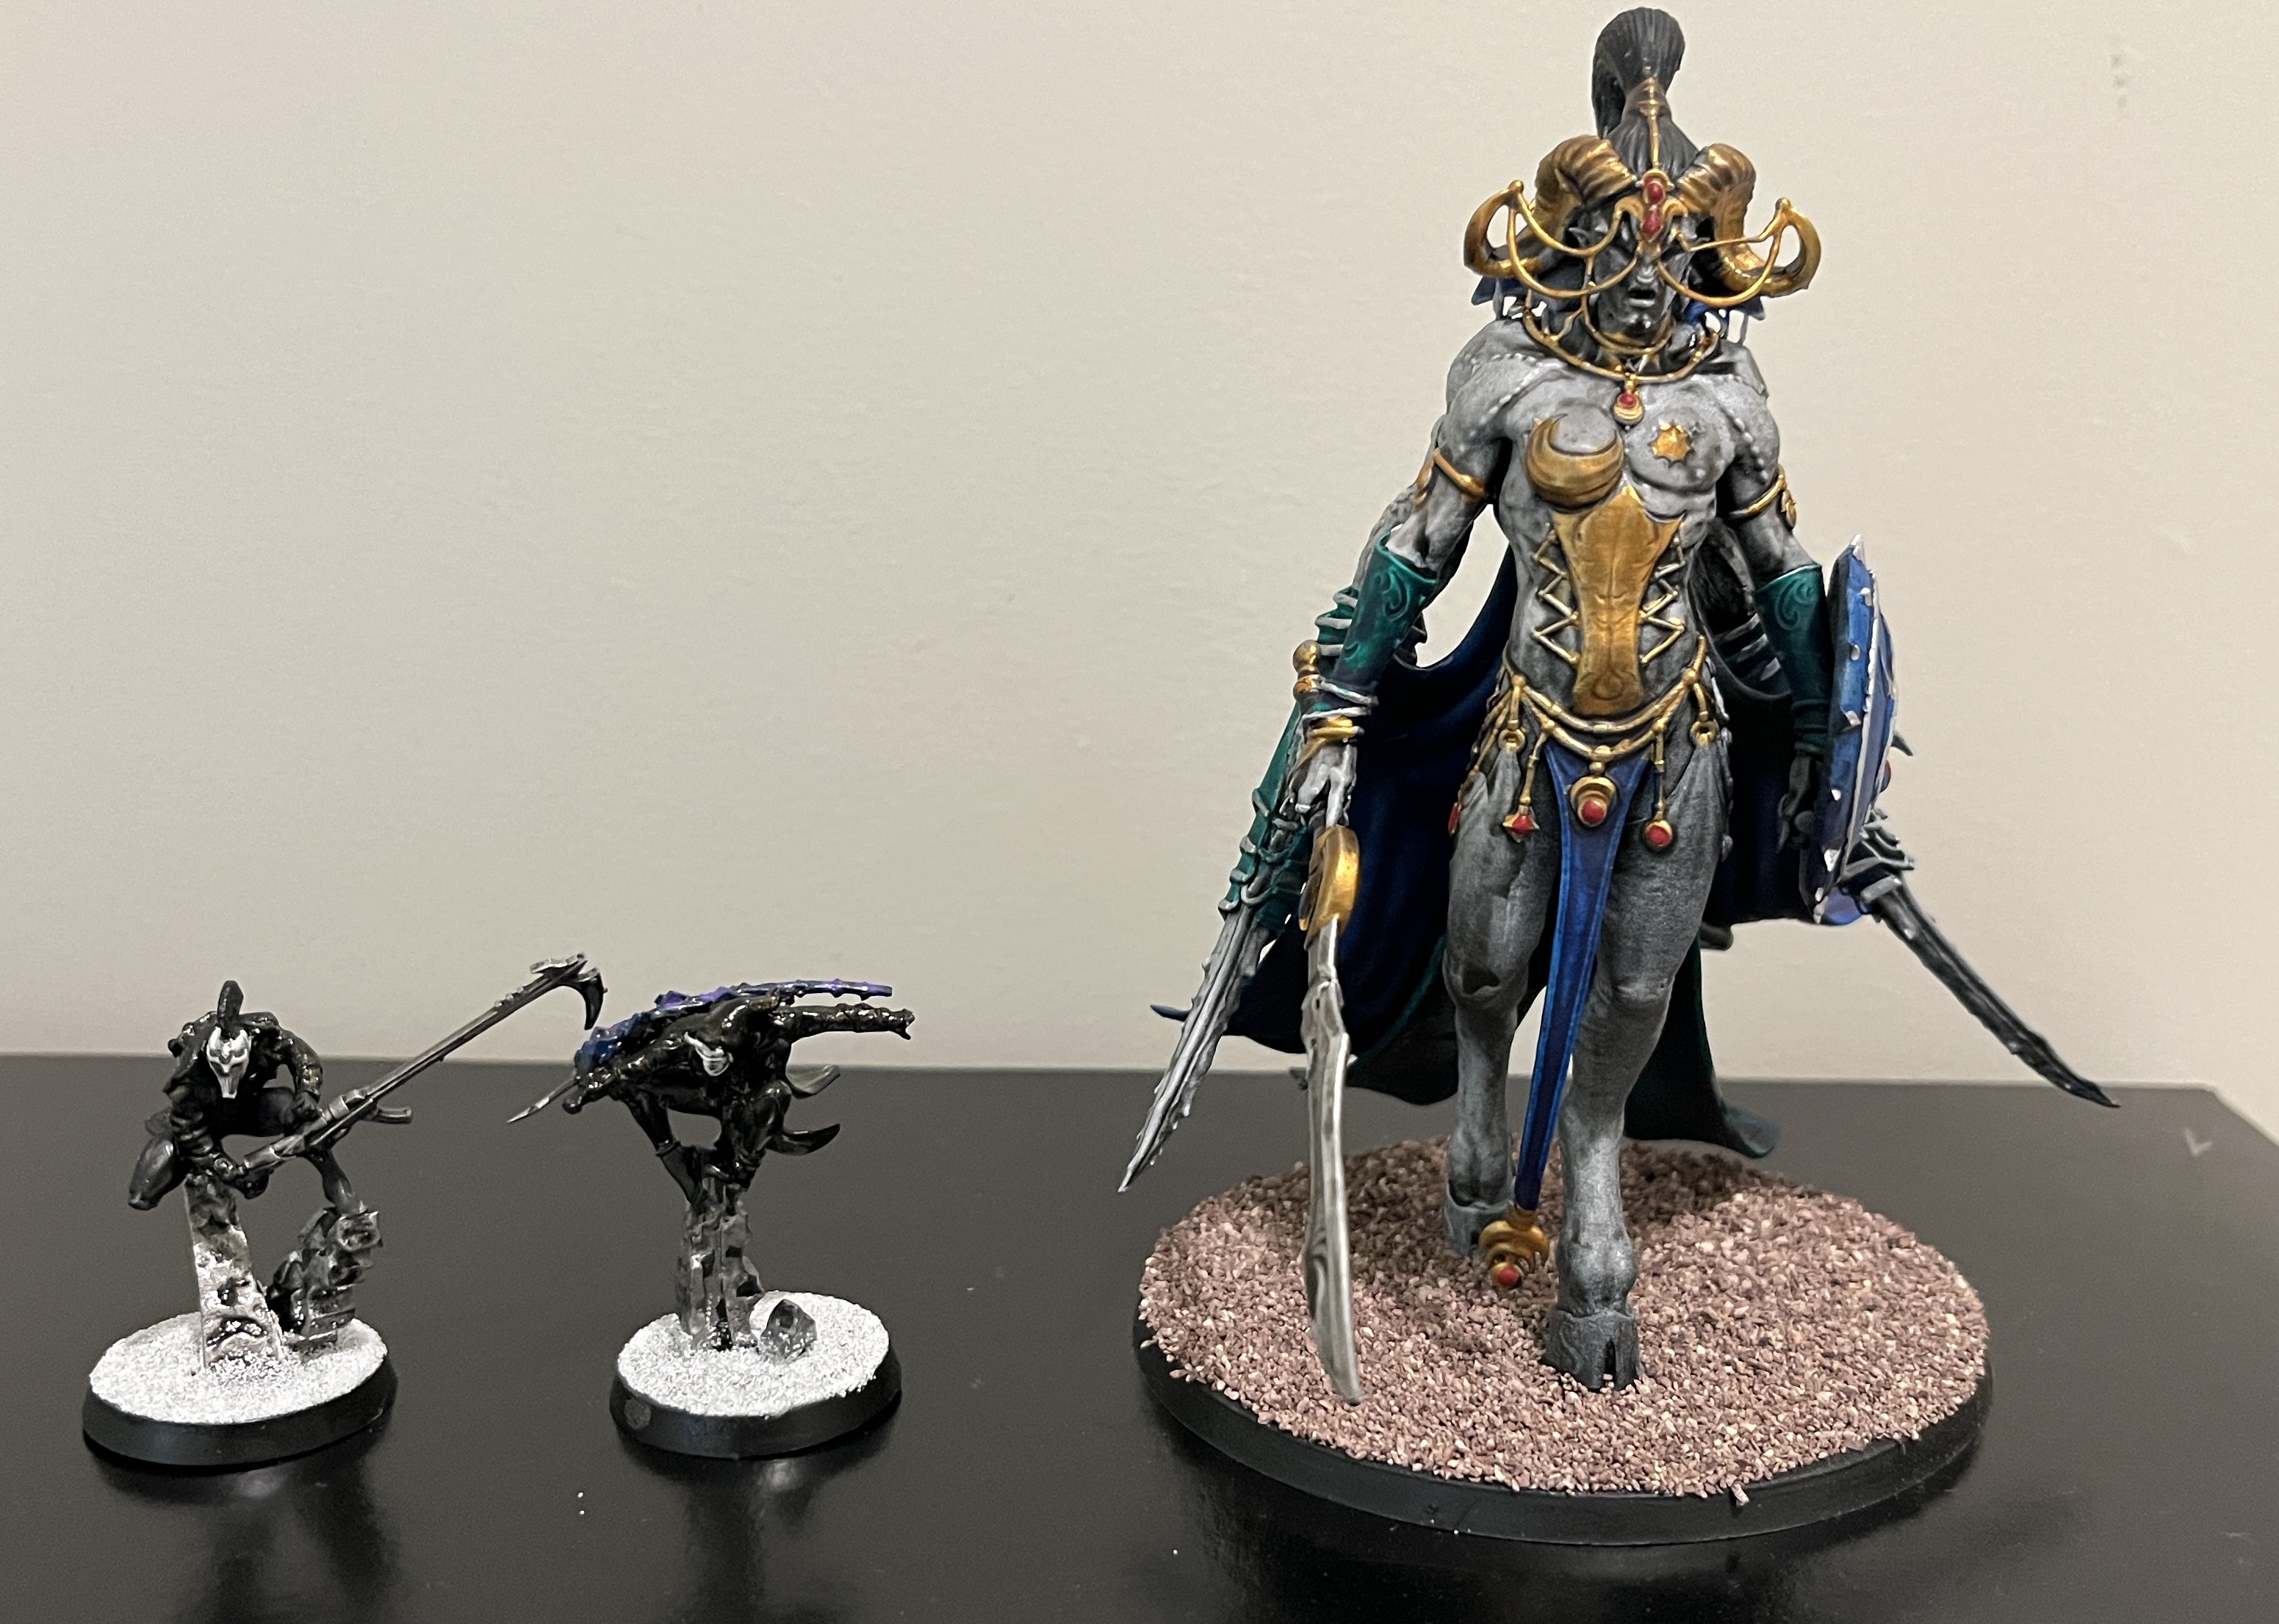
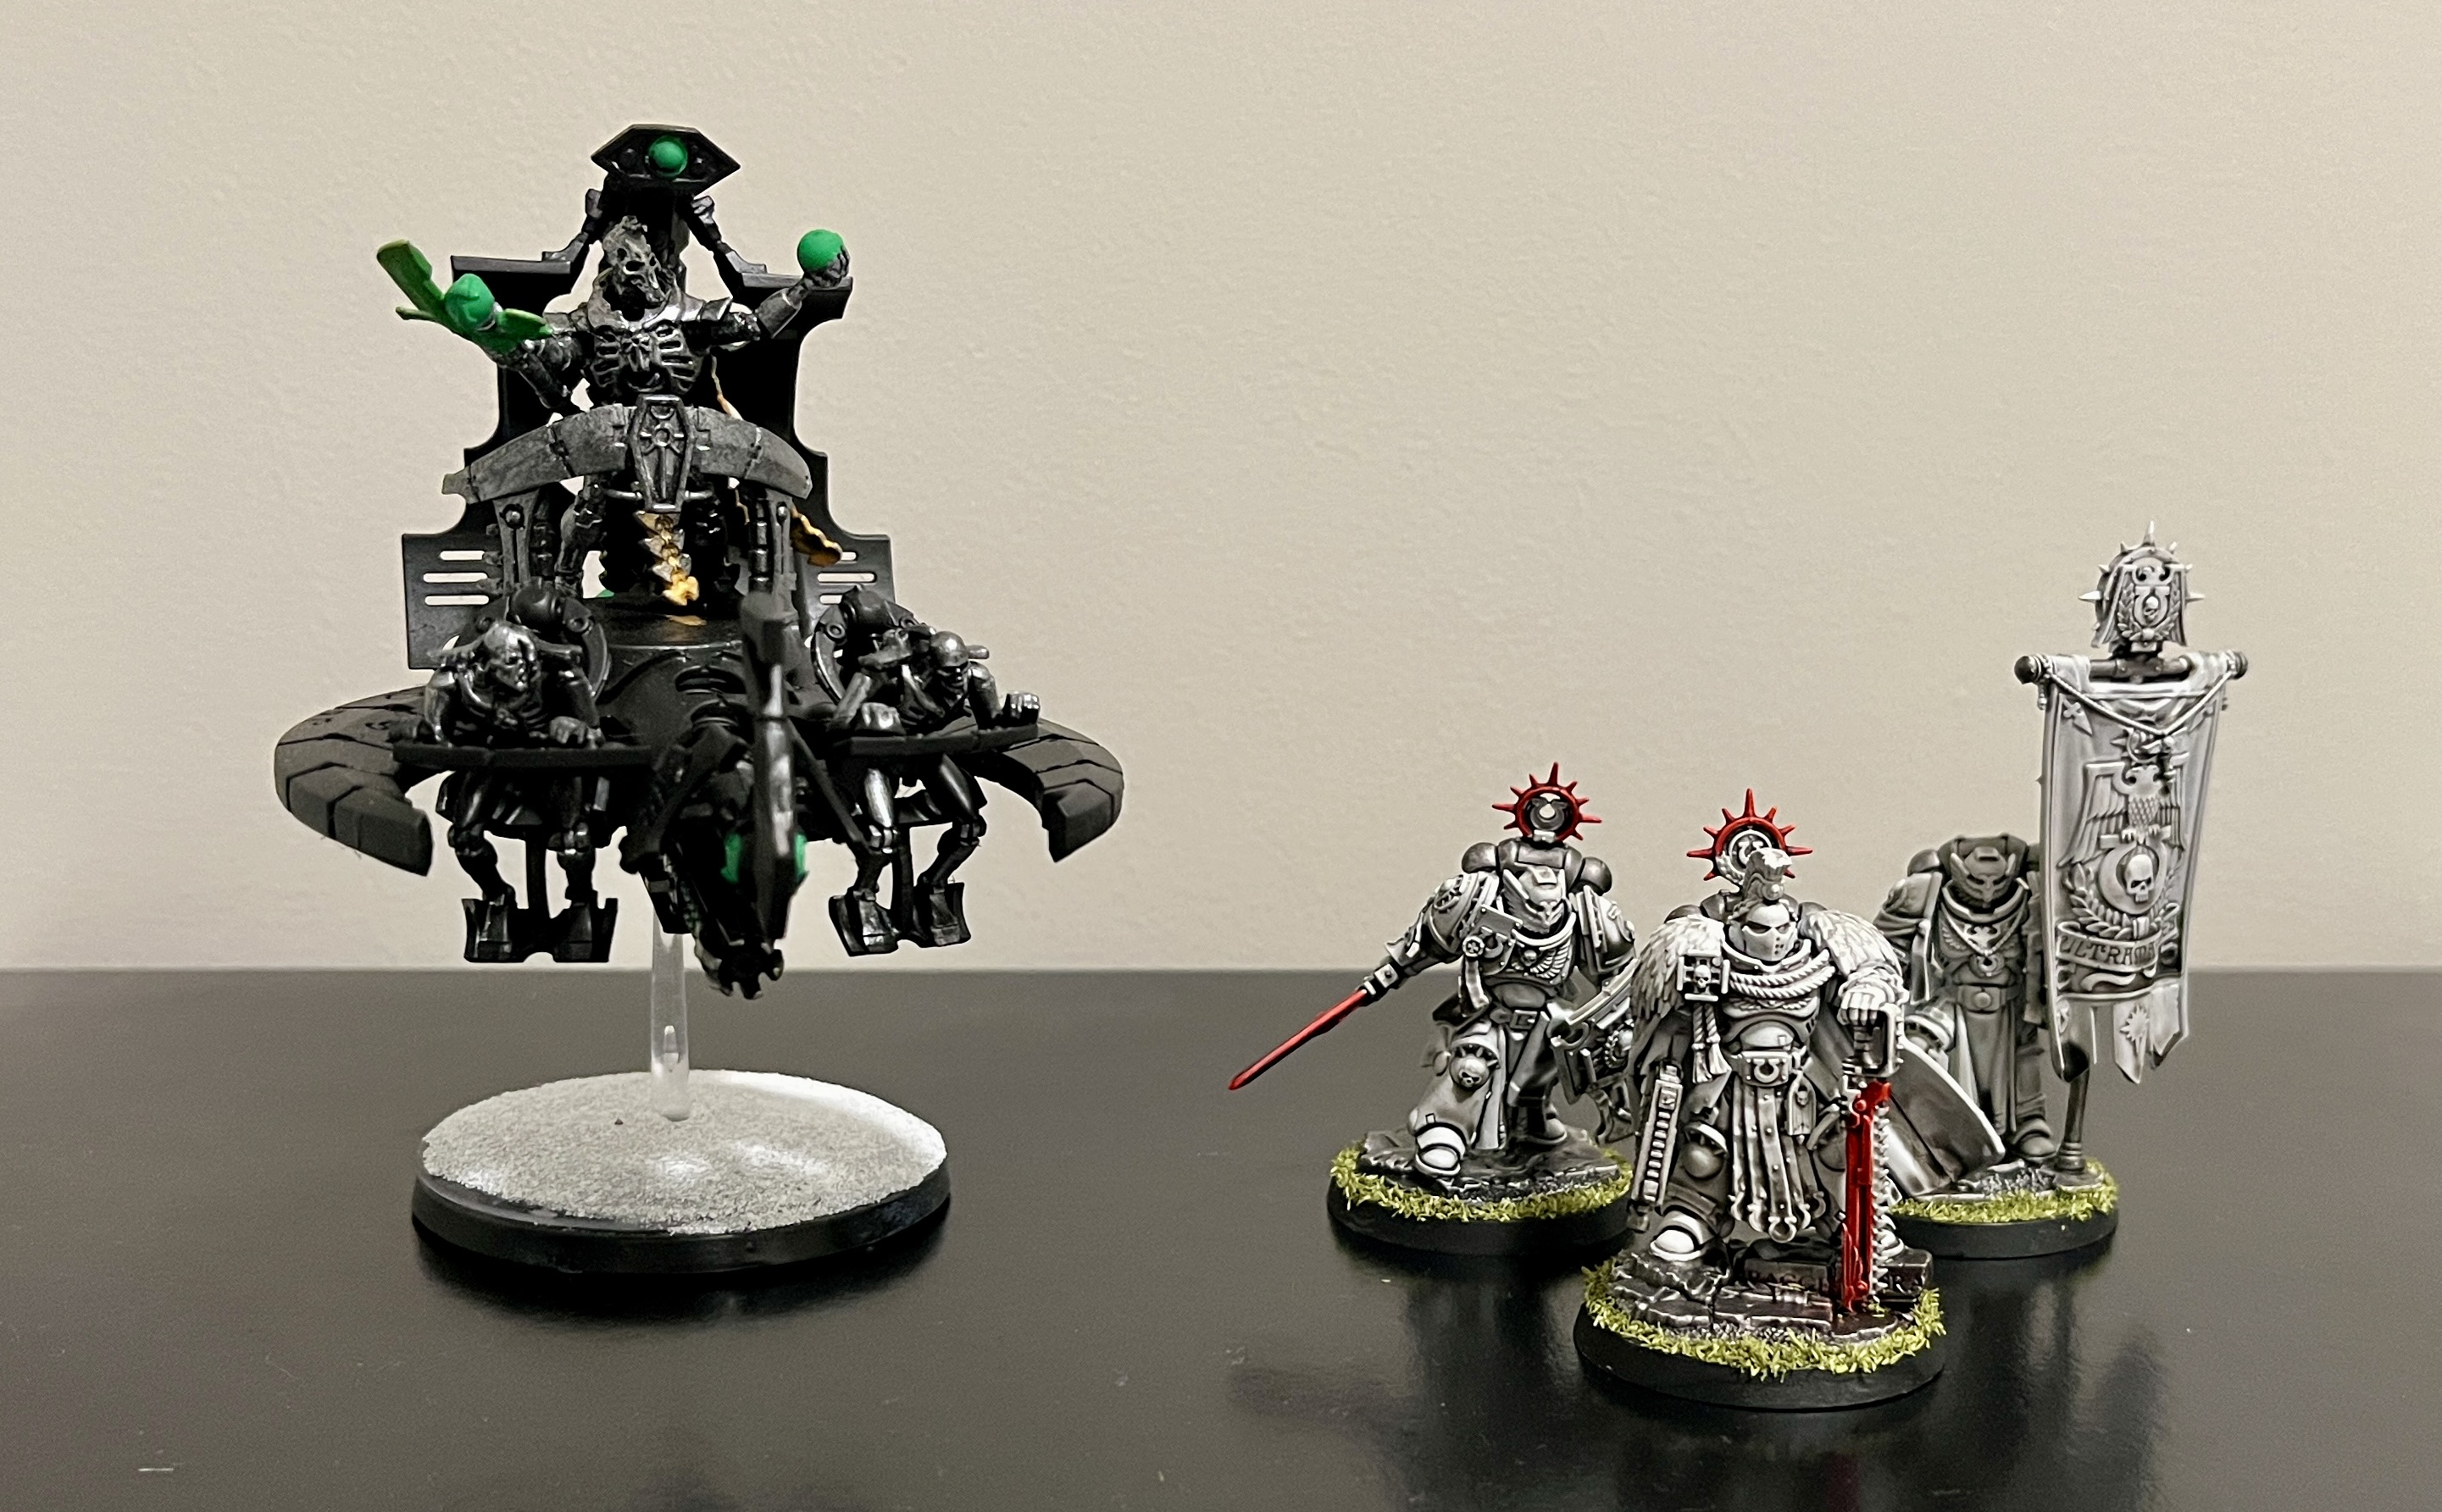
The idea behind the list is pretty simple. Its 4 C’Tan, with two of them being Transcendent that can teleport around the board, combined with around 600 points of highly mobile scoring units, most of which have Stealth or Lone Op. The goal is to use the scoring units to move around the board doing Secondaries or sitting on primary while the C’Tan are used to bully the opponent. During design, my thought was to start the Deceiver in reserves while the Transcendents and Nightbringer start on the board. The Nightbringer would then press from the front while I teleport the Transcendents around to pick off key units or to try to get behind the enemy. The Deceiver can then come out of Deep Strike to snipe a character before also working to press the opponent. The rest of the units can then be used to control the board and score points while the Chaos Knights have to deal with 4 C’Tan. It’s not hugely complicated but should be fast and strong.
Win Condition: Keep my scoring units alive and scoring points while using the C’Tan to kill all of the enemy units. It really is that simple.
What I Want to Work On This Game: Honestly, I just want to try this list out. This kind of “monster mash” is not usually my style of 40K, so I don’t know that I will play it often, but I do want to try it out.
| Category | Description |
| Warlord | Hexmark Destroyer |
| Leader / Bodyguard Combos | None |
| Transport / Unit Combinations: | N/A |
| Strategic Reserves: | C’Tan Shard of the Deceiver, 2 x Deathmarks |
| Key Stratagems: | Molecular Erosion – Used in the Command Phase to force one unraveling enemy unit near a Monster in your army to take a Battle Shock test while subtracting 1 from their roll. If they fail the test, they also take D3 + 1 Mortal Wounds. Note: Can only be used once per round. |
| Disharmonisation Cascade – Used in any Phase when a Necrons Monster unit is destroyed to activate its Deadly Demise on a 3+. | |
| Chronodistortion – Used in the Fight Phase just after an enemy unit selects its targets to give one unit Fight on Death on a 4+, 3+ if the attacker is unraveling. | |
| Key Combos | Push C’Tan Forward + Roll 4+ Invulnerable saves + Kill War Dogs in melee cuz AP 4 means they can’t save I’m being mostly sarcastic here, but this isn’t exactly the most complicated or combo heavy list that I have ever written. |
ROUND-BY-ROUND RECAP:
The game starts with Necrons winning the roll off and electing to have Chaos Knights deploy first..
The Chaos Knights spread out in a way that tries to maximize their ability to keep the C’Tan in front of them at all times. They are very careful about not leaving any gaps that could result in a Round 1 Transcendent C’Tan pooping into their DZ. Otherwise, they try to hide the Huntsmen and Stalkers while putting the Brigands out front.
The Necrons also deploy in a way that looks oddly focused on board control. They castle up in their DZ with only the Nightbringer out front in an obvious push position.
Chaos Knights win the roll off and will go first. The Necrons then make their Scout moves. The board state at the start of the battle is below. Note: the Character War Dogs are marked with colored dice.

Board State: Start of the Battle
ROUND 1:
| Phase: | Go First: Chaos Knights |
| Score at Start | 10 |
| Command | -Draw Overwhelming Force and Engage On All Fronts for Secondaries -Marked Prey goes on the Flayed Ones |
| Movement | -Brigand 1 to Objective 5 -Karnivore 2, Brigand 2, and Brigand 3 stage -all others screen out the Chaos Knights DZ |
| Shooting | -Chaos Knights fire all of their Indirect Havoc Multi-launchers and kill 3 Flayed Ones |
| Charge | -None |
| Fight | -None |
| End of Turn | -Score 1 on Secondaries -Drop Overwhelming Force for a CP -Necrons use Tunneling Horrors ability to pickup both Ophydian units |
| Score at End | 11 |
Boring first turn for the Chaos Knights due to a bad Secondary draw and Stealth + Indirect being a royal pain in the rear to punch through. They are being deliberately conservative here as they want the Necrons to get into melta and melee range. The board state in the middle of Round 1 is shown below.

Board State: Middle of Round 1
| Phase: | Go Second: Necrons |
| Score at Start | 10 |
| Command | -Draw Marked For Death and Assassination for Secondaries -Chaos Knights mark Stalker 2 and Huntsman 1 and 2 -Necrons mark Brigand 1 -Flayed Ones fail Battle Shock -Reanimate 3 Flayed Ones |
| Movement | -Nightbringer to Objective 4 -Tomb Blades 2 move to the center of the Necrons DZ to screen -Transcendent 1 uses Transdimensional Displacement ability and Reletivistic Tether Necrodermal Binding ability (I’m just going to say “Teleport” from now on to save my sanity) to move to shoot Brigand 1 -Transcendent 2 Teleports to Objective 3 -Ophydians 1 and 2 Deep Strike back into the Necrons DZ to screen |
| Shooting | -Transcendent 1 does 6 Damage to Brigand 1 -Transcendent 2 does 4 Damage to Brigand 3 -Brigand 1 saves Nightbringers attacks |
| Charge | -None |
| Fight | -None |
| End of Turn | -Score 0 on Secondaries -Drop Marked For Death for CP -Chaos Knights use Encircling Prey stratagem to pickup Huntsman 2 |
| Score at End | 10 |
Another somewhat boring turn, although the Necrons are positioned really well to start pressing the board position next turn. They are starting to force the Chaois Knights to come out and engage them. Let’s see if they do. The board state at the end of Round 1 is below.

Board State: End of Round 1
ROUND 2:
| Phase: | Go First: Chaos Knights |
| Score at Start | 11 |
| Command | -Draw Secure No Man’s Land and Storm Hostile Objective for Secondaries -Marked Prey on Transcendent 1 -Score 10 on Primary |
| Movement | -Brigand 3 to Objective 3 to out OC Transcendent 2 -Brigand 1 to Necrons side of Objective 5 to screen out the Deceiver from the Character units -Karnivore 1 to Objective 4 to out OC the Nightbringer -All others screen -Huntsman 2 and 3 deploy from Reserves to shoot Transcendent 1 -Brigand 4 deploys from Reserves into Chaos Knights DZ to screen Objective 1 |
| Shooting | -Huntsman 2 does 4 Damage to Transcendent 1 -Huntsman 3’s attacks get tanked by Transcendent 1 -Stalker 1’s attacks get tanked by Transcendent 1 -Brigand 3 split fires to kill 3 Flayed Ones and to watch Transcendent 2 tank all meltas -Brigand 1 does 2 Damage to Transcendent 1 -All others whiff on their Indirect |
| Charge | -Huntsman 2 rolls an 11 to get into Transcendent 1 |
| Fight | -Huntsman 2 does 1 Damage to Transcendent 1 -Transcendent 1 does 25 Damage to kill Huntsman 2 |
| End of Turn | -Score 9 on Secondaries |
| Score at End | 30 |
Well that turn ends on an ominous note for the rest of this game. On the positive side, the Chaos Knights maxed out Secondaries and have effectively denied the Necrons Primary from anything but their Home Objective. On the not so positive side, those C’Tan tanked a LOT of melta shots and damage using their Invulnerable Saves and Feel No Pains. Even worse, the Transcendent punished the Huntsman 2 for daring to Charge by punting it into another dimension. This does not bode well for the future turns. Board state in the middle of Round 2 is below.

Board State: Middle of Round 2
| Phase: | Go Second: Necrons |
| Score at Start | 10 |
| Command | -Draw Bring It Down to go with Assassination for Secondaries -Use Molecular Erosion stratagem on Nightbringer to make Karnivore 1 take a Battle Shock test at -1 to Leadership -Karnivore 1 passes Battle Shock test -Score 5 on Primary -Reanimate 3 Wounds to Transcendent 1, Transcendent 2 to full, and 1 model to Flayed Ones |
| Movement | -Transcendent 1 Moves to Charge onto Objective 5 -Transcendent 2 Moves to Charge into Brigand 3 -Nightbringer to Charge Karnivore 1 -all others screen out the board behind the C’Tan -Deceiver Deep Strikes near Objective 5 |
| Shooting | -Deceiver does 8 Devastating Wounds to Stalker 1 -Transcendent 1 whiffs into Stalker 1 despite using a CP re-roll -Transcendent 2 does 4 Damage to Brigand 3 -Nightbringer does 13 Damage to Karnivore 1 |
| Charge | -Nightbringer into Karnivore 1 -Transcendent 1 into Brigand 1 -Transcendent 2 into Brigand 3 -Deceiver fails into Brigand 1 |
| Fight | -Nightbringer does 21 Damage to Karnivore 1 to score 4 VP -Karnivore 1 uses Animalistic Rage stratagem to Fight On Death but the Nightbringer tanks all attacks -Transcendent 1 does 17 Damage to kill Brigand 1 -Transcendent 2 does 31 Damage to kill Brigand 3 |
| End of Turn | -Score 4 on Secondaries -Hold Assassination -Chaos Knights use Encircling Pack stratagem to pickup Huntsman 1 |
| Score at End | 19 |
Well that was brutal. From a Necrons perspective, the scoreboard doesn’t look great thanks to some not great Secondary draws, but the board control and unit count looks amazing. Also, the +1 AP from the detachment rule is proving amazing in melee and allowing the C’Tan to really bully the Chaos Knights. It may not look it yet, but the game is going exactly how the Necrons want it to.
From a Chaos Knights perspective, this is more of a mixed bag. On one hand, they are up on the scoreboard and have succeeded in denying the Necrons primary for a turn. They also still have most of their units still up and are positioned well for a “go turn” to blitz the C’Tan. On the less optimistic side, the Necrons ability to punish the Chaos Knights in melee makes for a low margin for error for a Knights army that really needs to get up close to do serious damage due to the amount of meltas that it depends on.
Something tells me that this next turn will determine the outcome of the game. Board state at the end of Round 2 is below.

Board State: End of Round 2
ROUND 3:
| Phase: | Go First: Chaos Knights |
| Score at Start | 30 |
| Command | -Roll for Dread abilities and get Doom and Dominion, neither of which is great in this matchup -Draw Area Denial and Defend Stronghold for Secondaries -Drop Area Denial for Sabotage -Pass all Battle Shock tests -Marked Prey on Transcendent 1 -Score 5 on Primary |
| Movement | -Huntsman 1 to Objective 5 -Stalker 1 Objective 5 -Karnivore 2 to Objective 5 -Brigand 2 into midfield terrain between Objectives 4 and 5 -Stalkers 3 and 4 move to Shoot and Charge Nightbringer -Stalker 2 and Huntsman 4 screen Objective 1 -Karnivore 3 stages for a Round 4 Charge -Huntsman 1 deploys from Reserves shoot Transcendent 1 |
| Shooting | -Stalkers 3 and 4 split fire and do 5 Damage to Nightbringer and 1 to Flayed Ones -Brigand 4 uses Indirect Fire to kill Flayed Ones -Stalker 1 does 5 Damage to Transcendent 1 -Huntsman 1 sees Transcendent 1 tank all its attacks -Huntsman 3 does 8 Damage to Deceiver -Brigand 3 Sabotages |
| Charge | -Stalker 1 into Transcendent 1 -Stalker 1 uses Tank Shock stratagem for 3 Mortal Wounds, but Transcendent 1 Feel No Pains them all -Huntsman 3 into Deceiver -Karnivore 2 into Transcendent 1 -Stalkers 3 and 4 into Nightbringer |
| Fight | -Stalker 3 does 2 Damage to Nightbringer, who makes 3 of 4 Invulnerable Saves and then 3 of 5 Feel No Pains -Transcendent 1 uses Counter Offensive stratagem to fight next and split fires to kill Stalker 1 and do 10 Damage to Karnivore 2 -Stalker 1 uses Animalistic Rage stratagem to Fight On Death to bring Transcendent 1 to 2 Wounds remaining -Stalker 4 does 2 Damage to Nightbringer, who makes 3 of 4 Invulnerable Saves and multiple Feel No Pains AGAIN -Karnivore 2 into Transcendent 1, who makes 4 of 4 invulnerable saves to stay alive -Huntsman 3 into Deceiver, who makes 3 of 3 Invulnerable Saves -Deceiver does 15 Damage to kill Huntsman 3 -Nightbringer split fires to do 8 Damage to Stalker 3 and 12 to Stalker 4 |
| End of Turn | -Nightbringer uses Drain Life ability to kill Stalker 4 -Score 0 on Secondaries -Necrons pickup both Ophydians |
| Score at End | 35 |
Ruh roh Raggy.
That went about as poorly as I could have imagined from a Chaos Knights perspective. I anticipated that the Necrons would use Counter Offensive to exact a heavy toll for having the Chaos Knights dare to Charge them and knew that there was the potential for a split fire to kill multiple units, but seeing them making that many Invulnerable Saves and Feel No Pains does not feel great. The Necrons effectively brick walled the Chaos Knights “go turn” and then smashed them back to remove close to 1/3 of their army. That is rough.
Venting about how bad that turn felt aside, there were some mistakes that Chaos Knights made there that they didn’t have to. First, Chaos Knights should have fired the meltas from Brigand 3 into Transcendent 1 instead of Sabotaging (altho I did a “what if?” roll off camera and the Transcendent saved those too….of course). Second, the Chaos Knights probably got a little greedy by Charging 3 C’Tans. Huntsman 3 should have Shot and Charged and into Transcendent 1 instead of the Deceiver. There’s a chance that it doesn’t change anything, as the Necrons had enough CP to Heroic Intervention the Deceiver in, but it would have at least bled the Necrons of more CP.
Board state in the middle of Round 3 is below.

Board State: Middle of Round 3
| Phase: | Go Second: Necrons |
| Score at Start | 19 |
| Command | -Draw No Prisoners to go with Assassination for Secondaries -Nightbringer fails Battle Shock -Use Molecular Erosion stratagem on Transcendent 1 to make Karnivore 2 take a Battle Shock test at -1 to Leadership -Karnivore 2 fails Battle Shock test and takes 2 Mortal Wounds -Score 15 on Primary -Reanimate 3 Wounds to Transcendent 1, 3 to Nightbringer, and 2 to Deceiver |
| Movement | -Tomb Blades 1 to Objective 3 -Deceiver to Objective 5 -Tomb Blades 2 stage between Objectives 3 and 4 -Transcendent 2 Teleports 6 inches from Objective 1 -Ophydians 1 and 2 Deep Strike to screen Objective 2 -Deathmarks 1 Deep Strike into terrain in the midfield -Deathmarks 2 Deep strike near Objective 5 |
| Shooting | -Deceiver kills Karnivore 2 for 7 VP -Transcendent 1 does 2 Damage to Huntsman 2 -Transcendent 2 whiffs -Nightbringer does 4 Damage to Stalker 3 |
| Charge | -Transcendent 1 into Brigand 2 |
| Fight | -Transcendent 1 does 23 Damage to kill Brigand 2 for 2 VP and to stick the Chaos Knights with Sabotage as a dead card -Stalker 3 into the Nightbringer, who makes 2 of 2 Invulnerable Saves -Nightbringer does 23 Damage to kill Stalker 3 for 1 VP |
| End of Turn | -Score 10 on Secondaries -Chaos Knights Sabotage fails and it becomes a dead card -Chaos Knights score 3 on Secondaries |
| Score at End | 44 |
And there is the back breaker from the Necrons. They pass the Chaos Knights in points and reduce them down to just 4 models. At this point, I don’t see a way for Chaos Knights to win this game, so they are revising their goal to “I will kill at least 1 of you stupid C’Tan” and “you won’t table me and beat me by 50 VP”
Board state at the end of Round 3 is below.

Board State: End of Round 3
ROUND 4:
| Phase: | Go First: Chaos Knights |
| Score at Start | 38 |
| Command | -Draw Display of Might to go with Sabotage for Secondaries -Drop Sabotage for Marked for Death -Necrons mark both Ophydians and Hexmark Destroyer -Chaos Knights mark Transcendent 1 -Marked Prey on Transcendent 2 -Necrons use Molecular Erosion stratagem on Transcendent 2 to make Brigand 4 take a Battle Shock test at -1 to Leadership -Brigand 4 passes Battle Shock test -Score 5 on Primary |
| Movement | -Stalker 2 to Shoot and Charge Transcendent 2 -Karnivore 3 to Shoot and Charge Transcendent 1 -Huntsman 3 to Objective 5 to out OC Deceiver |
| Shooting | -Huntsman 3 kills Transcendent 1 by FINALLY punching thru its Invulnerable Save and Feel No Pains with a melta for 2 VP -Stalker 2 also punches thru the Invulnerables Saves and Feel No Pains to do 9 Damage to Transcendent 2 -Brigand 4 ALSO punches thru the Invulnerable Saves and Feel No Pains to bring Transcendent 2 to 1 Wound remaining -Karnivore 3 kills 2 in Deathmarks 2 |
| Charge | -Stalker 2 into Transcendent 2 and uses Tank Shock stratagem to kill it |
| Fight | -None |
| End of Turn | -Score 2 on Secondaries -Drop Display of Might for 1 CP -Necrons pickup both Ophydians |
| Score at End | 45 |
Freaking finally! It’s about time the Chaos Knights punched through the C’Tan and took some of them down. I don’t think it changes much from a game perspective, but is a huge moral victory. Board state in the middle of Round 4 is below.

Board State: Middle of Round 4
| Phase: | Go Second: Necrons |
| Score at Start | 44 |
| Command | -Draw Recover Assets and Storm Hostile Objective for Secondaries -Score 15 on Primary -Reanimate 1 Wound to Deceiver, 3 to Nightbringer, and 1 to Deathmarks 2 |
| Movement | -Nightbringer to Charge Karnivore 4 -Tomb Blades 2 to Objective 4 -Ophydians 1 Deep Strike into the Chaos Knights DZ -Ophydians 2 Deep Strike to screen the Knights away from Objective 2 |
| Shooting | -Nightbringer does 9 Damage to Huntsman 2 -Deceiver does 2 Damage to Huntsman 2 -Hexmark, Ophydians 1, and Tomb Blades 1 Recover Assets for 5 VP -All others whiff |
| Charge | -Nightbringer into Karnivore 3 -Deceiver into Huntsman 2 |
| Fight | -Nightbringer does 28 Damage to Karnivore 3 -Karnivore 3 uses Animalistic Rage stratagem to Fight On Death and do 6 Damage to Nightbringer -Deceiver does 15 Damage to kill Huntsman 2 |
| End of Turn | -Score 9 on Secondaries -Chaos Knights use Encircling Pack stratagem to pickup Brigand 4 |
| Score at End | 68 |
A massive points turn for the Necrons, which seals the final result of this game. That said, the Chaos Knights can still avoid getting tabled and potentially do some more damage before the game ends. Board state at the end of Round 4 is below.

Board State: End of Round 4
ROUND 5:
| Phase: | Go First: Chaos Knights |
| Score at Start | 45 |
| Command | -Draw Establish Locus and Extend Battle Lines for Secondaries -Drop Extend Battle Lines for Assassination -Marked Prey on Nightbringer -Score 5 for Primary |
| Movement | -Stalker 2 to Shoot and Charge Nightbringer -Brigand 4 deploys from Reserves into Necrons DZ |
| Shooting | -Brigand 4 Establishes Locus for 4 VP -Stalker 2 uses a CP re-roll to do 9 Damage and kill Nightbringer thru a CP re-roll of a Save for 5 VP -Nightbringer explodes and does 4 Damage to Stalker 2 |
| Charge | -None |
| Fight | -None |
| End of Turn | -Score 9 on Secondaries -Necrons pickup Ophydians 2 |
| Score at End | 59 |
The Little Stalker That Could for the win! I know the scoreboard says otherwise, but this feels like a moral victory for the Chaos Knights. They survived a backbreaking Round 3 and took down 3 C’Tan while also avoiding a massive blowout. Board state in the middle of Round 5 is below.

Board State: Middle of Round 5
| Phase: | Go Second: Necrons |
| Score at Start | 68 |
| Command | -Draw Establish Locus and Defend Stronghold for Secondaries |
| Movement | -None |
| Shooting | -Ophydians 1 Establish Locus for 4 VP |
| Charge | -None |
| Fight | -None |
| End of Turn | -Score 7 on Secondaries -Score 15 on Primary |
| Score at End | 90 |
Final score for the game is 90-59 for the Necrons. Board state in the end of Round 5 is below.
Board State: End of Round 5
RESULT:
Singles Format: 90 – 59 Necrons WIN
WTC Teams Format: 16 – 4 Necrons WIN
GAME REVIEW:
Is it wrong that I ended the game more excited and feeling better about how the Chaos Knights played than the Necrons?
The story of the game seemed to be Round 3 and how hard the Necrons brick walled the Chaos Knights “go turn”. There were some Chaos Knights mistakes mixed in, but I can’t help but think that if that turn had been even a little bit better for the Chaos Knights that this game would have been drastically different. It also feels like the Chaos Knights out played the Necrons for the majority of the game, but that could just be cope-ium as I try to console myself that my list and math hammer wasn’t off and that its just that Necrons got lucky.
From a Necrons perspective, the list worked exactly as designed. The C’Tan rushed forward and stonewalled the opponent on the critical turns of the game while the rest of the army played the mission and scored points. It wasn’t super “big brained” and wasn’t the most fun that I have had playing 40K, but did work as designed. I can also see why there are such intense negative feelings directed at C’Tan these days, as this kind of list seems to directly counter and oppress certain army and list archetypes (melee pressure and closed ranged shooting).
WHAT I WOULD CHANGE NEXT TIME:
- Chaos Knights
- Round 3 needs a re-think. In hindsight, I think I should have forgone all of the Charges (which is completely counter to my instincts) and spaced my models out more. This would have denied to the Necrons the opportunity to kill 1/3 of the army in melee in a single Round and potentially would have denied them primary for another turn. I’m not sure it works, but it gives the Chaos Knights a better chance than what actually occurred.
- Necrons
- Not much except to acknowledge that they won’t always get away with making that many Invulnerable Saves on the critical turn of the game. Going forward, I’ll probably run the Transcendents as a pair so that they can cover each other and not try to cover the whole board at once. Also, I think there is a real hard counter into this list into something like Guard or Space Marines that can engage from further away. Chaos Knights really struggled with having to get within 9 inches of the C’Tan to engage properly as it basically meant they had one chance to kill them before dying in return.
EARNED THEMSELF A NAME:
The Transcendent 1. He singlehandedly blunted the Chaos Knights “go turn” and then killed multiple models in Rounds 2 and 3. He held an entire flank virtually by himself for most of the game.
MAGNUS OF THE GAME:
Brigand 3. Not his fault as it was pilot error, but I can’t help but “what if?” on the choice to Sabotage instead of shooting a melta at Transcendent 1 during the critical Round 3.

Leave a Reply