

JUMP TO:
Chaos Knights Specific Strategies
RULES / POINTS VERSION:
10th Edition, 2025 – 2026 Chapter Approved
December 2025 Balanced Dataslate and MFM Points Update
MATCHUP:
| Faction: | Detachment: |
| Chaos Space Marines | Veterans of the Long War |
| VS | |
| Faction: | Detachment: |
| Chaos Knights | Infernal Lance |
MISSION:
| GW Mission | O |
| Primary | Terraform |
| Terrain Layout | GW Terrain Layout 2 |
| Deployment | Crucible of Battle |
LISTS:
CSM:
List
Chaos Space Marines
Veterans of the Long War
Strike Force (2,000 Points)
CHARACTERS
Abaddon the Despoiler (270 Points)
• Warlord
• 1x Drach’nyen
• 1x Talon of Horus
Chaos Lord (105 Points)
• 1x Daemon hammer
• 1x Plasma pistol
• Enhancements: Warmaster’s Gift
Cypher (90 Points)
• 1x Cypher’s bolt pistol
• 1x Cypher’s plasma pistol
Fabius Bile (100 Points)
• 1x Fabius Bile
◦ 1x Chirurgeon
◦ 1x Rod of Torment
◦ 1x Xyclos Needler
• 1x Surgeon Acolyte
◦ 1x Surgeon Acolyte’s tools
BATTLELINE
Cultist Mob (50 Points)
• 1x Cultist Champion
◦ 1x Autopistol
◦ 1x Brutal assault weapon
• 9x Chaos Cultist
◦ 9x Autopistol
◦ 9x Brutal assault weapon
Cultist Mob (50 Points)
• 1x Cultist Champion
◦ 1x Autopistol
◦ 1x Brutal assault weapon
• 9x Chaos Cultist
◦ 9x Autopistol
◦ 9x Brutal assault weapon
Legionaries (90 Points)
• 1x Aspiring Champion
◦ 1x Chaos Icon
◦ 1x Close combat weapon
◦ 1x Heavy melee weapon
◦ 1x Plasma pistol
• 4x Legionary
◦ 2x Astartes chainsword
◦ 4x Bolt pistol
◦ 4x Close combat weapon
◦ 1x Heavy melee weapon
◦ 1x Lascannon
DEDICATED TRANSPORTS
Chaos Rhino (75 Points)
• 1x Armoured tracks
• 1x Combi-bolter
• 1x Combi-bolter
• 1x Havoc launcher
Chaos Rhino (75 Points)
• 1x Armoured tracks
• 1x Combi-bolter
• 1x Combi-bolter
• 1x Havoc launcher
OTHER DATASHEETS
Chaos Predator Annihilator (135 Points)
• 1x Armoured tracks
• 1x Combi-bolter
• 1x Havoc launcher
• 2x Lascannon
• 1x Predator twin lascannon
Chaos Predator Annihilator (135 Points)
• 1x Armoured tracks
• 1x Combi-bolter
• 1x Havoc launcher
• 2x Lascannon
• 1x Predator twin lascannon
Chosen (250 Points)
• 1x Chosen Champion
◦ 1x Boltgun
◦ 1x Chaos Icon
◦ 1x Plasma pistol
◦ 1x Power fist
• 9x Chosen
◦ 6x Accursed weapon
◦ 8x Bolt pistol
◦ 3x Boltgun
◦ 4x Combi-weapon
◦ 2x Paired accursed weapons
◦ 1x Plasma pistol
◦ 1x Power fist
Chosen (125 Points)
• 1x Chosen Champion
◦ 1x Boltgun
◦ 1x Chaos Icon
◦ 1x Plasma pistol
◦ 1x Power fist
• 4x Chosen
◦ 3x Accursed weapon
◦ 3x Bolt pistol
◦ 1x Boltgun
◦ 2x Combi-weapon
◦ 1x Paired accursed weapons
◦ 1x Plasma pistol
Obliterators (160 Points)
• 2x Obliterator
◦ 2x Crushing fists
◦ 2x Fleshmetal guns
Obliterators (160 Points)
• 2x Obliterator
◦ 2x Crushing fists
◦ 2x Fleshmetal guns
Warp Talons (125 Points)
• 1x Warp Talon Champion
◦ 1x Warp claws
• 4x Warp Talon
◦ 4x Warp claws

Chaos Knights:
List
Chaos Knights
Infernal Lance
Strike Force (2,000 Points)
CHARACTERS
Knight Despoiler (410 Points)
• Warlord
• 1x Daemonbreath meltagun
• 1x Despoiler gatling cannon
• 1x Despoiler gatling cannon
• 1x Havoc missile pod
• 1x Heavy darkflamer
• 1x Heavy darkflamer
• 1x Titanic feet
• Enhancements: Bestial Aspect
Knight Despoiler (390 Points)
• 1x Daemonbreath meltagun
• 1x Despoiler gatling cannon
• 1x Despoiler gatling cannon
• 1x Havoc missile pod
• 1x Heavy darkflamer
• 1x Heavy darkflamer
• 1x Titanic feet
Knight Rampager (365 Points)
• 1x Diabolus heavy stubber
• 1x Reaper chainsword
• 1x Warpstrike claw
OTHER DATASHEETS
War Dog Brigand (140 Points)
• 1x Armoured feet
• 1x Avenger chaincannon
• 1x Daemonbreath spear
• 1x Havoc multi-launcher
War Dog Huntsman (140 Points)
• 1x Daemonbreath meltagun
• 1x Daemonbreath spear
• 1x Reaper chaintalon
War Dog Huntsman (140 Points)
• 1x Daemonbreath meltagun
• 1x Daemonbreath spear
• 1x Reaper chaintalon
War Dog Karnivore (150 Points)
• 1x Havoc multi-launcher
• 1x Reaper chaintalon
• 1x Slaughterclaw
War Dog Karnivore (150 Points)
• 1x Havoc multi-launcher
• 1x Reaper chaintalon
• 1x Slaughterclaw
ALLIED UNITS
Beasts of Nurgle (65 Points)
• 1x Putrid appendages
Nurglings (40 Points)
• 3x Nurgling Swarm
◦ 3x Diseased claws and teeth

(Note: I proxied a Nurgle Daemon Prince as a Beast of Nurgle for this battle)
FACTION SPECIFIC STRATEGIES:
CSM:
This detachment is my new “all rounder” that I end up playing the most frequently, especially as a “control” when I am trying to figure out a new detachment. It’s not CSM’s strongest build but does play a very solid game of 40K with options to do damage in melee or shooting and plenty of movement.
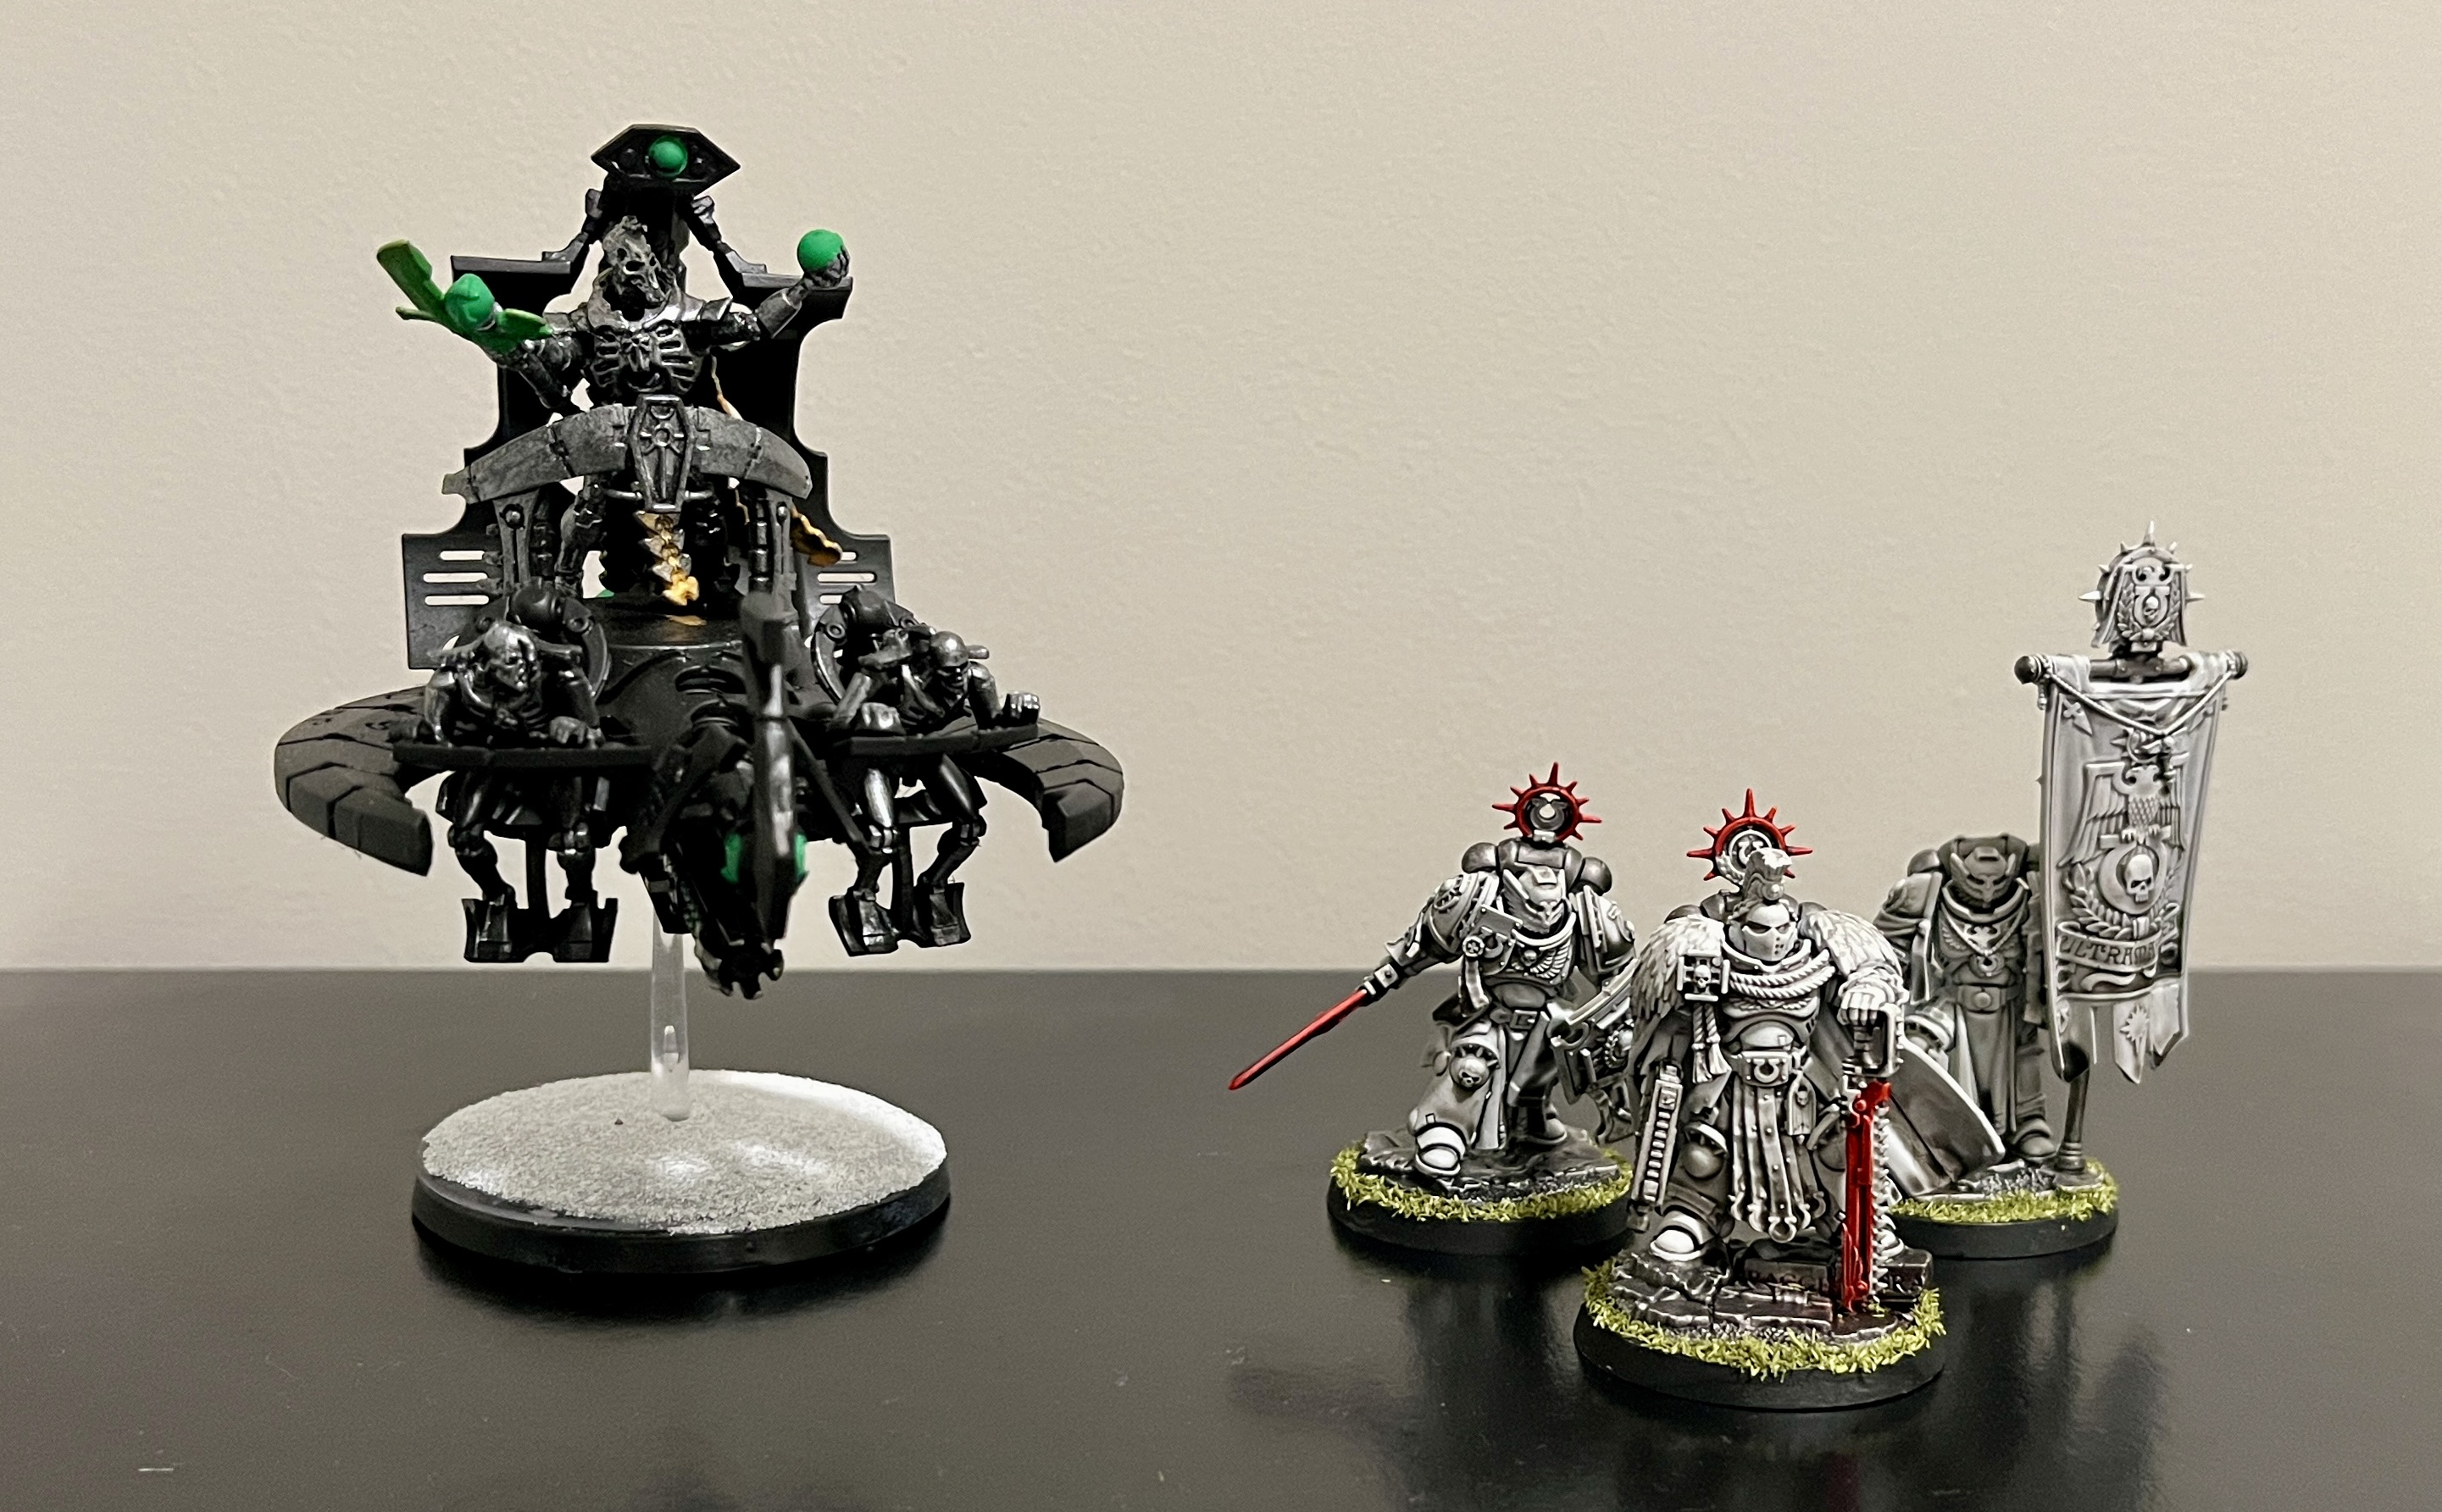
The idea is to pressure early with the Bile brick while also picking off any screens or “action monkeys” with the Warp Talons. The Predators are there to provide long range shooting while the Obliterators provide Deep Strike and the ability to drop on the flanks or in the Opponent’s DZ to start dealing damage too. Lastly, Abaddon is their to buff the ranged shooting before providing a mid to late game melee threat.
As for the matchup, CSM is not feeling great about it. I played a recent game with this list against Steve’s Leagues of Votann and basically gave up on killing his Hekaton Land Fortresses mid-game. Now, this list is up against a Chaos Knights that basically has 3 Hekaton equivalents. Also, the double Gatling Cannon Despoiler has the perfect profile into Space Marine bodies, so that’s not ideal either.
CSM’s Win Condition: CSM needs to find a way to split the Big and Little Knights. What I mean by this is that they need to either tarpit and then bring down the Big Knights before they can get on midfield objectives in order to prevent them from using Titanic to both activate in shooting and Terraform objectives or engage the Little Knights early and take them down so that Chaos Knights struggles to score secondaries. Either way sounds like a tough path to implement so CSM is probably looking at a disadvantage and will need to grind out a 7-13 or 8-12 loss.
| Category | Description |
| Leader / Bodyguard Combos: | Abaddon the Despoiler with 5 Chosen |
| Chaos Lord with 5 Legionaries | |
| Fabius Bile with 10 Chosen | |
| Transport / Infantry Combos: | Fabius Bile + 10 Chosen in a Rhino |
| Chaos Lord + 5 Legionaries in a Rhino | |
| Strategic Reserves: | Both units of Obliterators |
| 1 unit of Cultist Mob | |
| Key Strategems: | Millennia of Experience – Used in your Opponent’s Movement Phase just after an enemy unit finishes a Normal, Advance, or Fall Back move within 9 inches of your unit to Reactive Move up to 6 inches. |
| Contemptuous Disregard – Used in your Opponent’s Shooting or Fight Phase to reduce incoming AP by 1. | |
| Bringers of Despair – Used in your Opponent’s Fight Phase to give a unit Fights First when in Engagement Range of your Focus of Hatred target. | |
| Key Combos: | Chaos Lord + Chance for Glory ability + Focus of Hatred detachment rule + Warmaster’s Gift enhancement + Legionaries + Veterans of the Long War ability It’s not the most powerful variant of the “Smash Captain” but still does the job. The Lord can deploy out of a transport and run out late game to target something on an objective while getting re-roll hits and wounds into Devastating Wounds on 5+ on a 3 Damage Hammer. Not bad. |
Chaos Knights:
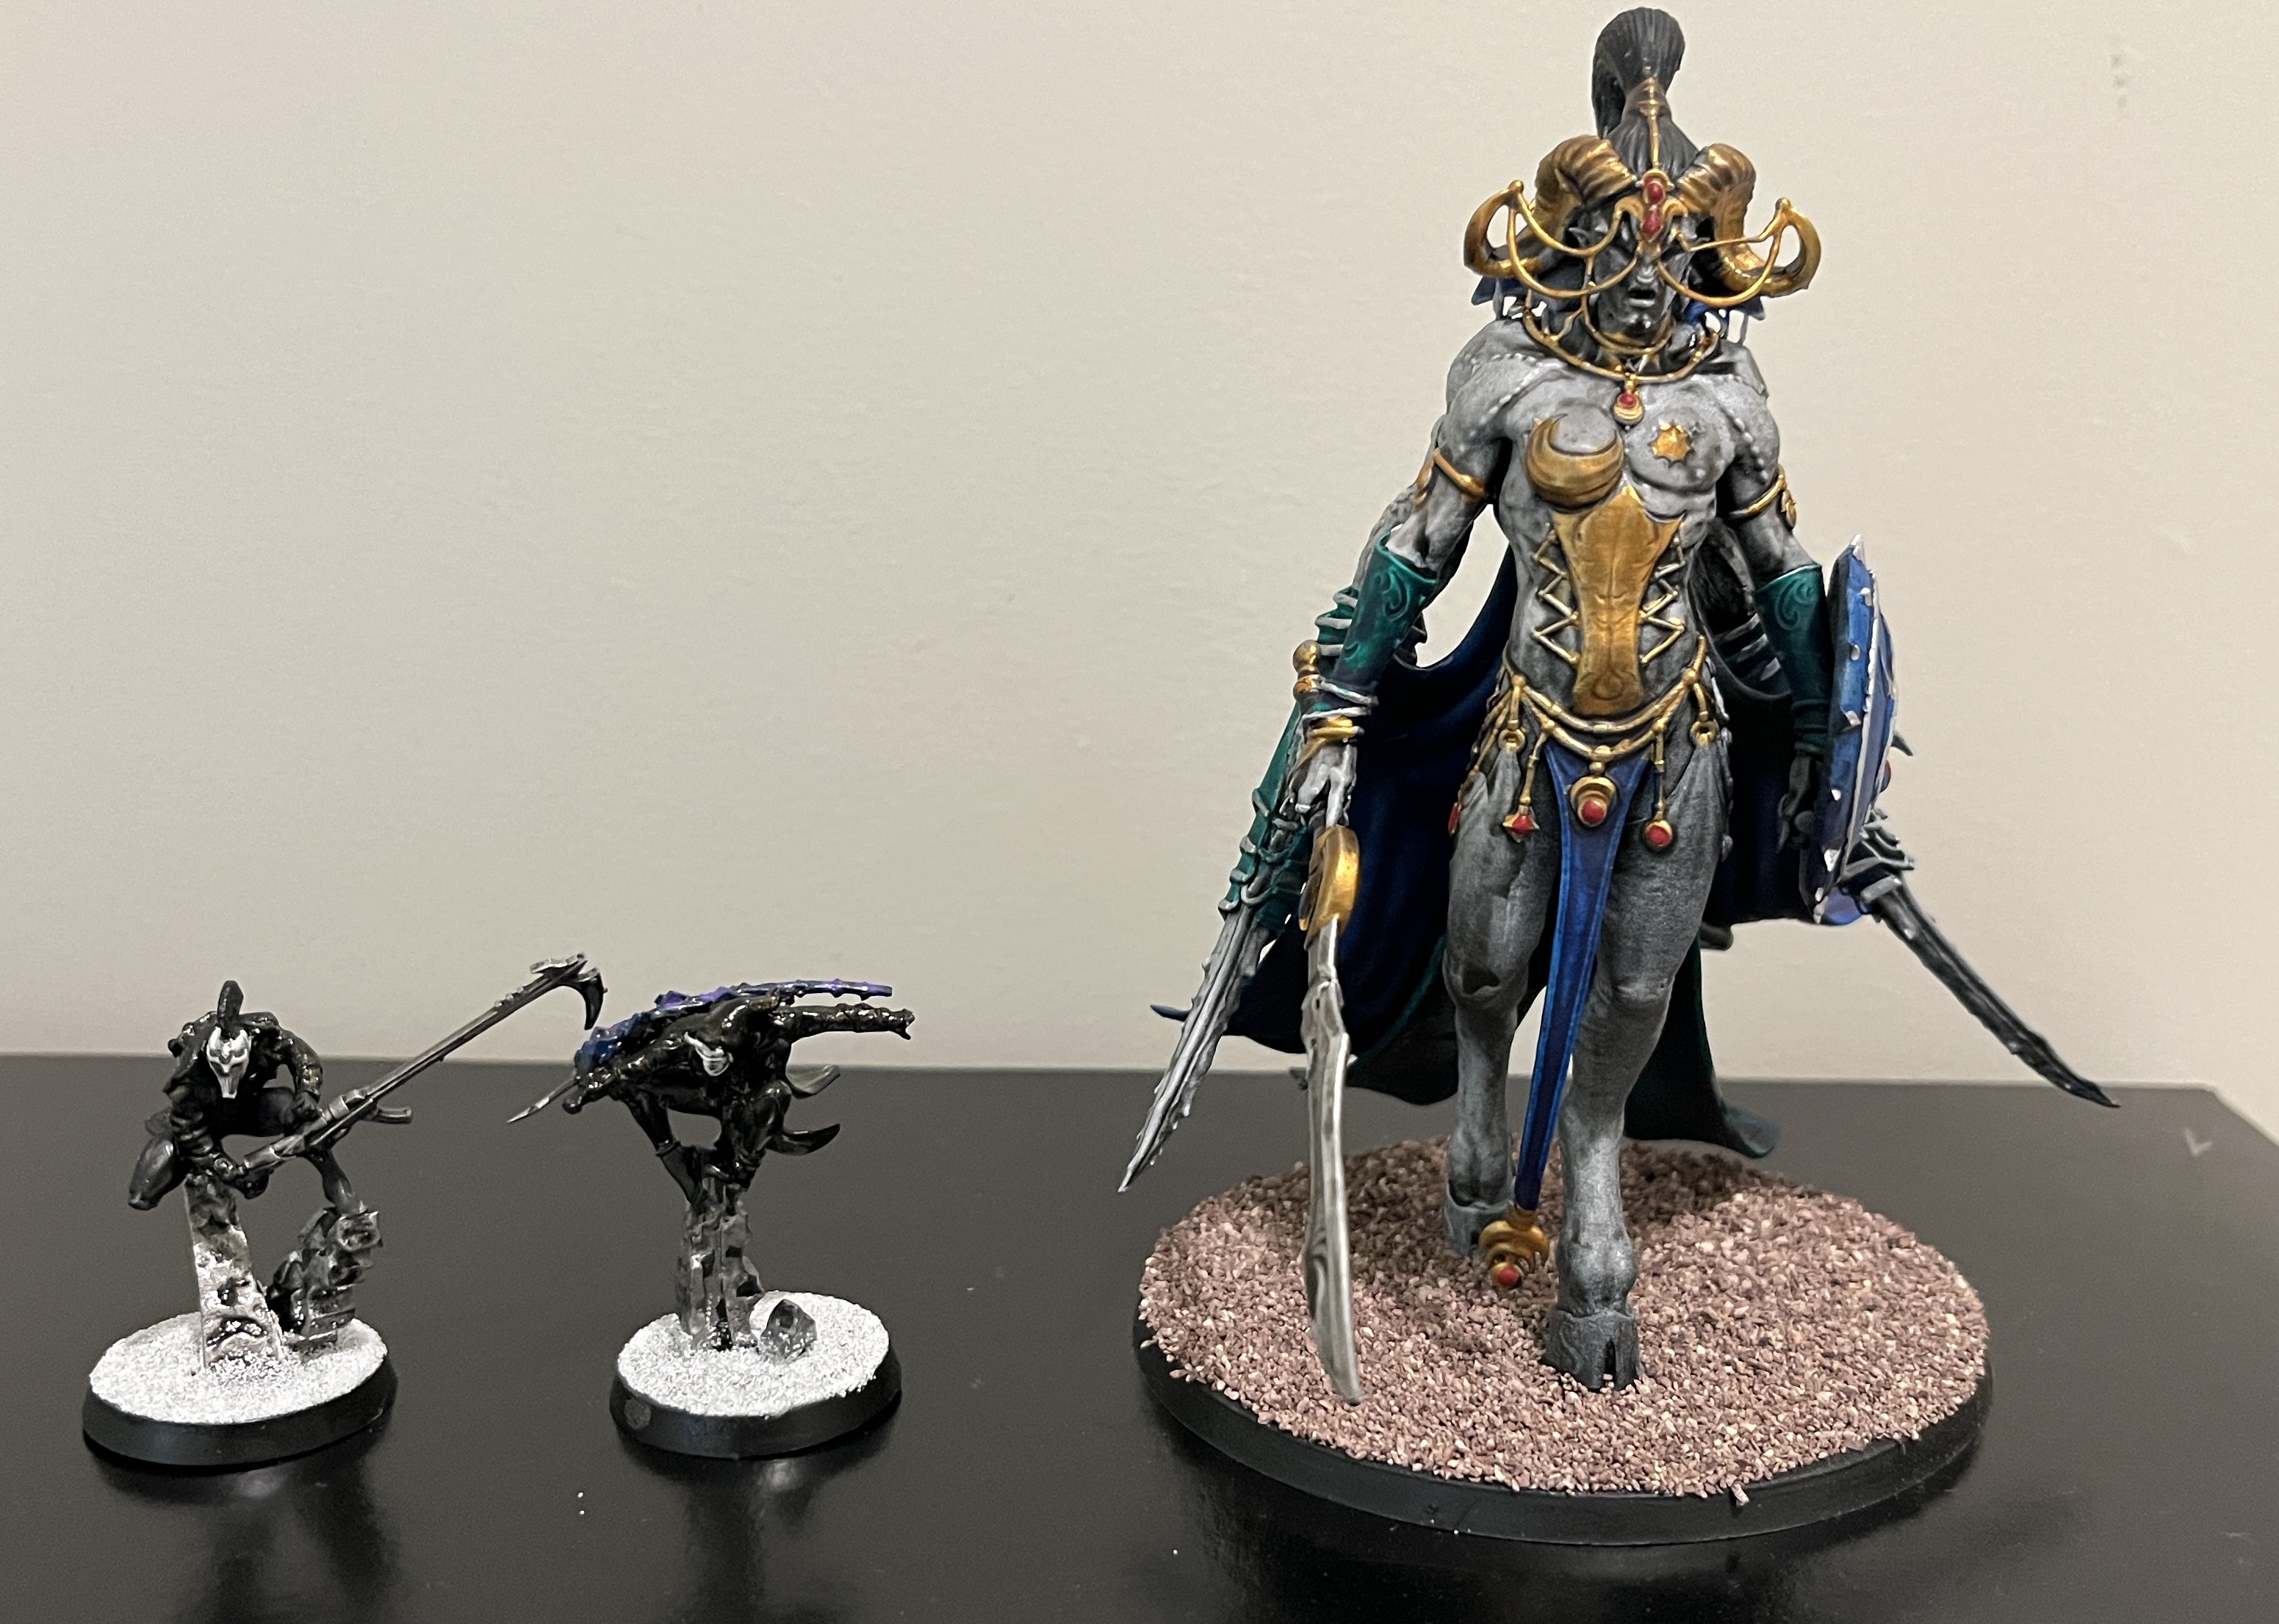
This is a second attempt at Chaos Knights Infernal Lance, as last time I got too cute with my list design and ended up losing badly to Custodes. For this list, I dropped one of the Big Knights and all but one Enhancement in favor of more War Dogs and some Daemon allies. The idea behind the list is to push the Karnivores and Daemons out early to skirmish and draw out the enemy damage dealers. The Despoilers can then engage those damage dealers from afar using with their gatling cannons and with the combo listed below. Lastly, the Rampager is in the list because I didn’t have access to weapons for a 3rd Double Gatling Despoiler and so will be used as either a mid-game melee counter to enemy damage dealers or an early game alpha strike threat.
From a matchup perspective, Chaos Knights like the mission and terrain layout. They also like how their list lines up into the CSM list, assuming that CSM’s Dark Pact Lethal Hits don’t pop off.
Chaos Knights Win Condition: The win condition for this Chaos Knights list is to draw out the enemy forces with the Beast of Nurgle and Karnivores so that the Despoilers and Rampager can blow them off the board. It wins by killing the opponent and/or by stat checking them off of the midfield objectives. Given how favorably the weapons profiles and terrain work for Chaos Knights in this matchup, this looks to be very doable and so the starting point is a projected 12-8 win that could go higher.
| Category | Description |
| Leader / Bodyguard Combos | None |
| Transport / Unit Combinations: | None |
| Strategic Reserves: | Both War Dog Huntsman models |
| Key Stratagems: | Profane Symbiosis – Used in Any Phase to make a Malefic Surge. Cannot be used on the same unit more than once per Round. |
| Diabolic Bulwark – Used in your opponent’s Shooting Phase to give one unit a 4+ invulnerable save. | |
| Warp Vision – Used in your Shooting Phase to give one unit Ignores Cover on its ranged weapons. | |
| Key Combos | Knights Despoiler + Despoiler Gatling Cannon war gear X 2 + Malefic Surge detachment rule + Warp Vision stratagem 36 shots at Strength 6, AP -2, Damage 2 with Ignores cover and either Lethal or Sustained? This is why you play this detachment. Even better if you pair it with the Bestial Aspect enhancement for Assault on those guns. |
| Knight Rampager + Malefic Surge detachment rule + Profane Symbiosis stratagem Nothing like a Knight Rampager that can move 15 inches through terrain, Charge, and then pop a stratagem to add Lethal to its already existing Sustained and Devastating Wounds keywords in melee to punt something into the sun. It’s probably overkill but sure is fun. |
ROUND-BY-ROUND RECAP:
The game starts with CSM winning the roll off and choosing to have Chaos Knights deploy first since they really want to see where the Big Knights are being deployed. Chaos Knights deploy their War Dogs and Dameons aggressively while keeping their Big Knights behind terrain (for now). The idea is to be able to push the Daemons and Karnivores out early to try to draw out the CSM Chosen bricks and Warp Talons. CSM then deploys a bit more conservatively with the focus being on hiding from the scary Chaos Knight guns. They are setting up to try to push the flanks and keep terrain between them and the Despoilers while also lining Abaddon up on the middle in case the Chaos Knights put a Despoiler or Rampager there.
Chaos Knights wins the roll off to go first. They then choose Darkness (-1 to Hit on ranged weapons for enemies farther than 18 inches from the target or when Battle Shocked) as their Dread Ability. The board state at the start of the game is shown below.

Board State: Start of the Battle
ROUND 1:
| Phase: | Go First: Chaos Knights |
| Score at Start | 10 |
| Command | -Draw Area Denial and Overwhelming Force for Secondaries -No Malefic Surges made |
| Movement | -Brigand moves onto Objective 3 -Karnivore 2 moves onto Objective 4 -Beast of Nurgle moves onto Objective 5 -Nurglings screen out an Abaddon Charge -Karnivore 1 stages -Despoiler 2 toes into terrain and onto Objective 1 |
| Shooting | -Brigand, Karnivore 2, and Beast of Nurgle all Terraform |
| Charge | -None |
| Fight | -None |
| End of Turn | -Score 5 on Secondaries -Drop Overwhelming Force for 1 CP -Terraform completes on 3 midfield objectives |
| Score at End | 15 |
Chaos Knights is following its plan by pushing out moderately aggressively with a few cheaper units and Terraforming the midfield early. They control all 3 objectives and while still keeping most of their bigger assets hidden. It’s now on CSM to do something to kick them off of the objectives and Terraform them back. The goal is to get CSM to make bad trades by over-investing to take back the midfield and exposing its damage dealers for the Big Knights to engage. The board state in the middle of Round 1 is shown below.

Board State: Middle of Round 1
| Phase: | Go Second: CSM |
| Score at Start | 10 |
| Command | -Draw Secure No Man’s Land and Bring It Down for Secondaries -Cultist 1 stickies Objective 2 -Abaddon chooses Hit re-roll aura as his ability -Focus of Hatred on Brigand |
| Movement | -Predators 1 and 2 move into Abaddon’s aura range while still accessing shooting lanes -Warp Talons move onto Objective 3 -Rhino 1 moves onto Objective 5 -Rhino 2 stages in terrain -Cypher moves into terrain and within 12 inches of board center |
| Shooting | -Predator 2 kills the Brigand for 4 VP -Warp Talons Terraforms Objective 3 -Predator 1 kills the Beast of Nurge -Rhino 1 Terraforms Objective 5 |
| Charge | -None |
| Fight | -None |
| End of Turn | -Score 9 on Secondaries |
| Score at End | 19 |
Round 1 goes according to plan for CSM as well. Unlike last game, the Predators actually do something and kill Chaos Knight units off of 2 objectives, which enables the Rhino 1 and Warp Talons to Terraform them. The imperative is back on Chaos Knights to come take those Objectives back and Terraform them. We’ll see if this draws out the Big Knights. The board state at the end of Round 1 is below.

Board State: End of Round 1
ROUND 2:
| Phase: | Go First: Chaos Knights |
| Score at Start | 15 |
| Command | -Draw Behind Enemy Lines and Establish Locus for Secondaries -Rampager, Despoiler 2, and Despoiler 1 Malefic Surge to become Empowered -Score 8 on Primary |
| Movement | -Rampager uses its Empowered state to move 15 inches towards Predator 1 -Karnivore 1 moves onto Objective 5 -Despoiler 1 toes into Terrain to shoot onto Objectives 4 or 5 -Huntsman 1 comes out of Reserves near Rhino 1 and Objective 5 |
| Shooting | -Huntsman 1 does only 2 Damage into Rhino 1 -Rampager whiffs into the Warp Talons -Karnivore 1 Terraforms Objective 5 -Karnivore 2 Establishes Locus -Despoiler 1 uses Empowered state to gain Lethal Hits and Warp Vision for Ignores Cover and kills Rhino 1 -Despoiler 2 uses Empowered state to gain Lethal Hits and does 8 Damage to Predator 1 |
| Charge | -Rampager into Predator 1 -Abaddon + Chosen use Heroic Intervention |
| Fight | -Rampager splits its Warpstrike Claw’s sweep profile to kill all the Chosen, do 3 Damage to Abaddon, and to bring the Predator 1 to 1 Wound -Abaddon does 9 Wounds back to the Rampager |
| End of Turn | -Score 2 on Secondaries -Drop Behind Enemy Lines for 1 CP -Score 2 for Terraform -CSM scores 1 for Terraform |
| Score at End | 27 |
Now this game is starting to get interesting. Both sides are trading minor punches on the flanks with CSM losing a Rhino and Chaos Knights Terraforming Objective 5 without exposing too much. On the other hand, the Rampager took the bait and is now completely exposed. CSM did take a bit of a risk to Heroically Intervene with the Chosen to keep the Rampager out of the CSM DZ and from scoring Behind Enemy Lines, but it seems to have paid off with Abaddon and both Predators still alive. The scoreboard and trading game seems to be favoring CSM at this point, let’s see if they can take advantage of it. Board state in the middle of Round 2 is below.

Board State: Middle of Round 2
| Phase: | Go Second: CSM |
| Score at Start | 20 |
| Command | -Draw Marked For Death and A Tempting Target for Secondaries -CK chooses Objective 4 -Abbadon selects Hit re-roll aura -Focus of Hatred on Karnivore 2 -Score 8 on Primary |
| Movement | -Warp Talons to Objective 4 to setup a Charge into Karnivore 2 -Bile + Chosen Advance out of Rhino 2 to setup a Charge into Karnivore 2 -Lord + Legionaries setup a Charge into Karnivore 1 -Rhino 2 screens the CSM backfield -Cypher moves onto Objective 4 -Obliterator 2 Deep Strikes onto Objective 3 -Obliterator 1 Deep Strikes in Line of Sight of Karnivore 1 -CK Rapid Ingresses Huntsman 2 near Objective 3 |
| Shooting | -Cypher whiffs into Karnivore 2 -Obliterator 2 does 8 Damage into Karnivore 2 -Obliterator 1 does 8 Damage into Karnivore 1 -Predators 1 and 2 shoot at Rampager, who uses Diabolic Bulwark to tank all incoming fire -Bile + Chosen chip the Nurglings down to 5 Wounds -Lord + Legionaries whiff into Karnivore 1 |
| Charge | -Warp Talons into Karnivore 2 -Lord + Legionaries into Karnivore 1 -Bile + Chosen into Nurglings but with enough of a Charge to Pile In to Karnivore 2 -Cypher into Nurglings |
| Fight | -Warp Talons kill Karnivore 2 -CK uses Counter Offensive and Karnivore 1 kills the Legionaires, but not Lord -Bile + Chosen kill Nurglings -Lord uses Chance For Glory ability and kills Karnivore 1 -Karnivore 1 explodes and does 3 Damage back to Lord -Rampager kills Predator 1 and Abaddon, who barely dies after whiffing on a CP re-roll save that would have kept him alive on 3 Wounds |
| End of Turn | -Score 7 on Secondaries -CSM scores 1 for Terraform -CK scores 2 for Terraform -CSM picks up the Warp Talons |
| Score at End | 36 |
The scoreboard says that was a good turn for CSM, but I can’t help but feel that CSM may have lost the game this turn. Some of it was dice related, like the Rampager making six of six 4+ Invulnerable Saves against the Predator Lascannons or Abaddon rolling a 3 into a 3 on a CP re-roll for a 4+ Invulnerable Save that would have kept him alive and engaged with the Rampager for another turn. Some of it was player mistakes like overestimating what it would take to kill Karnivore 2 and hanging Bile and Company out to dry in exchange for basically 40 points of Nurglings. Either way, CSM is not feeling great right now, despite the scoreboard. Board state at the end of Round 2 is below.

Board State: End of Round 2
ROUND 3:
| Phase: | Go First: Chaos Knights |
| Score at Start | 29 |
| Command | -Roll for two additional Dread Abilities and get Darkness (again) and Dismay (enemy units within 9 inches and below Starting Strength must take Battle Shock test) -Draw Recover Assets and A Tempting Target for Secondaries -CSM chooses Objective 4 -Despoilers 1 and 2 make a Malefic Surge to become Empowered -Score 4 on Primary |
| Movement | -Despoiler 1 moves thru Terrain thanks to Super-Heavy Walker and onto Objective 5 -Huntsman 1 moves onto Objective 5 -Huntsman 2 moves onto Objective 3 -Rampager sets up an easy Charge into Predator 2 -CSM uses Rapid Ingress to Deep Strike Warp Talons into terrain and into Charge range of Objective 3 |
| Shooting | -Despoilers 1 and 2 Recover Assets -Huntsman 1 kills 1 Obliterator 1 model and does 3 Damage to the other -Huntsman 2 kills 1 Obliterator 2 model -Rampager kills Obliterator 1 -Despoiler 1 uses Warp Vision -Despoilers 1 and 2 use Empowered state to gain Sustained, along with Despoiler 1 using Warp Vision, and kill Bile + Chosen through Contemptuous Disregard -Despoilers 1 and 2 also kill Lord, and chip Cultist 1 -Bile stands back up |
| Charge | -Rampager into Predator 2 -Huntsman 2 into Obliterator 2 |
| Fight | -Rampager 2 kills Predator 2 and Consolidates onto Objective 2 -Huntsman 2 kills Obliterator 2 through Conptemtuous Disregard |
| End of Turn | -Score 3 on Secondaries -Drop A Tempting Target for 1 CP -Score 2 for Terraform -CSM scores 1 for Terraform |
| Score at End | 38 |
That was brutal for CSM. Unlike their Space Marines brethren, the Chaos Knights did not take the bait that the Secondary cards offered and instead chose violence. It paid off for them as they wiped pretty much all CSM damage dealers off of the board and are now setup for massive primary scores in rounds 4 and 5. Let’s see if CSM can salvage some sort of points of out this mess to avoid a blow out. Board state in the middle of Round 3 is below.

Board State: Middle of Round 3
| Phase: | Go Second: CSM |
| Score at Start | 37 |
| Command | -Draw Assassination and Extend Battle Lines for Secondaries -Drop Assassination for Storm Hostile Objective -Focus of Hatred on Huntsman 2 -Score 4 on Primary |
| Movement | -Bile, Warp Talons, and Rhino 2 into Charge range of Huntsman 2 -Cultist 2 deploys from Reserves into the CK DZ |
| Shooting | -Cypher Terraforms Objective 4 -all others whiff |
| Charge | -Bile into Huntsman 2 -Warp Talons into Huntsman 2 -Rhino 2 into Huntsman 2 -Rhino 2 Tank Shocks for 2 Damage |
| Fight | -Warp Talons take Huntsman 2 to 3 Wounds -Huntsman 2 uses Counter Offensive to fight Bile -Bile survives on 2 Wounds -Bile kills Huntsman 2 |
| End of Turn | -Score 6 on Secondaries -Score 2 for Terraform -CK scores 1 for Terraform |
| Score at End | 49 |
Despite a terrible board state and lack of units, CSM had a pretty good turn. Getting 6 on Secondaries, keeping control of 2 midfield Objectives, and then taking back a Terraform are all good news. I still don’t think CSM wins this game, but they are scoring well enough to avoid a blow out. Board state at the end of Round 3 is below.

Board State: End of Round 3
ROUND 4:
| Phase: | Go First: Chaos Knights |
| Score at Start | 39 |
| Command | -Draw Cleanse and Engage On All Fronts for Secondaries -Despoilers 1 and 2 Malefic Surge -Use Corrupting Taint to sticky Objective 1 -Score 12 on Primary |
| Movement | -Despoilers 1 and 2 move towards Objective 4 to pin Cypher within 12 inch range of one of them -Rampager moves around terrain on Objective 2 to see Cultist 1 |
| Shooting | -Huntsman 1 Cleanses Objective 5 -Rampager Cleanses Objective 2 -Despoiler 1 Terraforms Objective 4 -Rampager kills 2 of 4 remaining Cultists -Despoiler 1 uses Empowered state for Sustained and kills Cypher and Warp Talons -Despoiler 2 uses Empowered state and Warp Vision to kill Bile (probably overkill) |
| Charge | -None |
| Fight | -None |
| End of Turn | -Score 7 on Secondaries -Score 2 on Terraform -CSM scores 1 for Terraform |
| Score at End | 60 |
And there is the scoreboard pass that I have been expecting as Chaos Knights make a Malefic Surge past CSM (Dad Joke alert). With only Cultists and a Rhino left, CSM is running on fumes. Let’s see if they can keep putting points on the board. Board state in the middle of Round 4 is below.

Board State: Middle of Round 4
| Phase: | Go Second: CSM |
| Score at Start | 50 |
| Command | -Draw Display of Might and Sabotage for Secondaries -Drop Display of Might for Engage On All Fronts -Focus of Hatred on Despoiler 2 (not that it matters) -Score 4 on Primary |
| Movement | -Cultist 2 moves into terrain to Sabotage |
| Shooting | -Cultist 2 Sabotages |
| Charge | -None |
| Fight | -None |
| End of Turn | -Score 2 on Secondaries -Score 1 for Terraform -CK scores 2 for Terraform |
| Score at End | 57 |
CSM are about to be tabled. It looks like the game will end around a 5-15, which isn’t as bad as it could have been given the turn 2 mistake by CSM, but is still lower than expected. Not good for CSM. Board state at the end of Round 4 is below.

Board State: End of Round 4
ROUND 5:
| Phase: | Go First: Chaos Knights |
| Score at Start | 62 |
| Command | -Roll and get Despair and Delirium for Dread Abilities -Draw Bring It Down and Extend Battle Lines for Secondaries -Despoiler 1 Malefic Surges -Score 12 for Primary |
| Movement | -Despoiler 2 moves to gain Line of Sight on Cultist 2 |
| Shooting | -Rampager kills Cultist 1 -Despoiler 2 kills Cultist 2 and sticks CSM with Sabotage -Despoiler 1 uses Empowered state to gain Lethal and Warp Vision to kill Rhino 1 for 4 VP |
| Charge | -None |
| Fight | -None |
| End of Turn | -Score 8 on Secondaries -Score 2 for Terraform -CSM scores 1 for Terraform |
| Score at End | 84 |
CSM is tabled and now can only score the 1 remaining point for Terraforming Objective 3. The final score will be 85 or 86 to 59. Board state in the middle of Round 5 is below.

Board State: Middle of Round 5
| Phase: | Go Second: CSM |
| Score at Start | 58 |
| Command | -None |
| Movement | -None |
| Shooting | -None |
| Charge | -None |
| Fight | -None |
| End of Turn | -Score 0 on Secondaries -Score 0 on Primary -Score 1 on Terraform -CK scores 1 for Terraform to max Primary points |
| Score at End | 59 |
Chaos Knights win 85 – 59. Board state in the end of Round 5 is below.
Board State: End of Round 5
RESULT:
Singles Format: 85 – 59 CK WIN
WTC Teams Format: 15 – 5 CK WIN
GAME REVIEW:
This was a game of “what if’s” for CSM.
What if I had followed my gut and deployed Bile + Chosen in Rhino 1 instead of 2 so that they could threaten the CK Natural Expansion Objective?
What if the Rampager hadn’t made six of six 4+ Invulnerable saves in Round 2?
What if Abaddon had lived in Round 2?
What if I hadn’t taken the bait that was the Secondary cards in Round 2 and stayed true to my win condition by staying out of the middle of the board?
Regardless, it was a fantastic game and I feel really good about both lists. Despite the mistakes on the CSM side, I have several tangible things that I could improve upon. On the Chaos Knights side, I also see areas where I could have played Secondaries better, but am thrilled by how my first attempt with this new list went and by how patiently I played the Despoilers.
WHAT I WOULD CHANGE NEXT TIME:
- CK
- Just some minor mistakes early in the game, specifically choosing to cycle Overwhelming Force Round 1 instead of keeping it since I could have predicted that CSM would have to come stand on Objectives in their turn. That could have netted me an additional 5 points.
- CSM
- See the above “what if’s”. The big one that stands out is not trusting the Warp Talons, Obliterators 2, and Cypher to take down Karnivore 2 in Round 2 and exposing Bile + Chosen as a result. Having them disappear to 2 Despoiler shooting activations the following turn was a game losing mistake.
EARNED THEMSELF A NAME:
Knight Rampager. Fortune favors the bold and my man broke CSM’s back almost by himself in Rounds 2 and 3 by killing Abaddon, 5 Chosen, and 2 Predators while also tanking 6 Lascannon shots.
MAGNUS OF THE GAME:
The Bile + Chosen brick. Bile made up for it in Rounds 3 and 4 by being tough to kill and taking out a Huntsman before dying a second time, but losing that Chosen brick in Round 3 was brutal.

Leave a Reply