
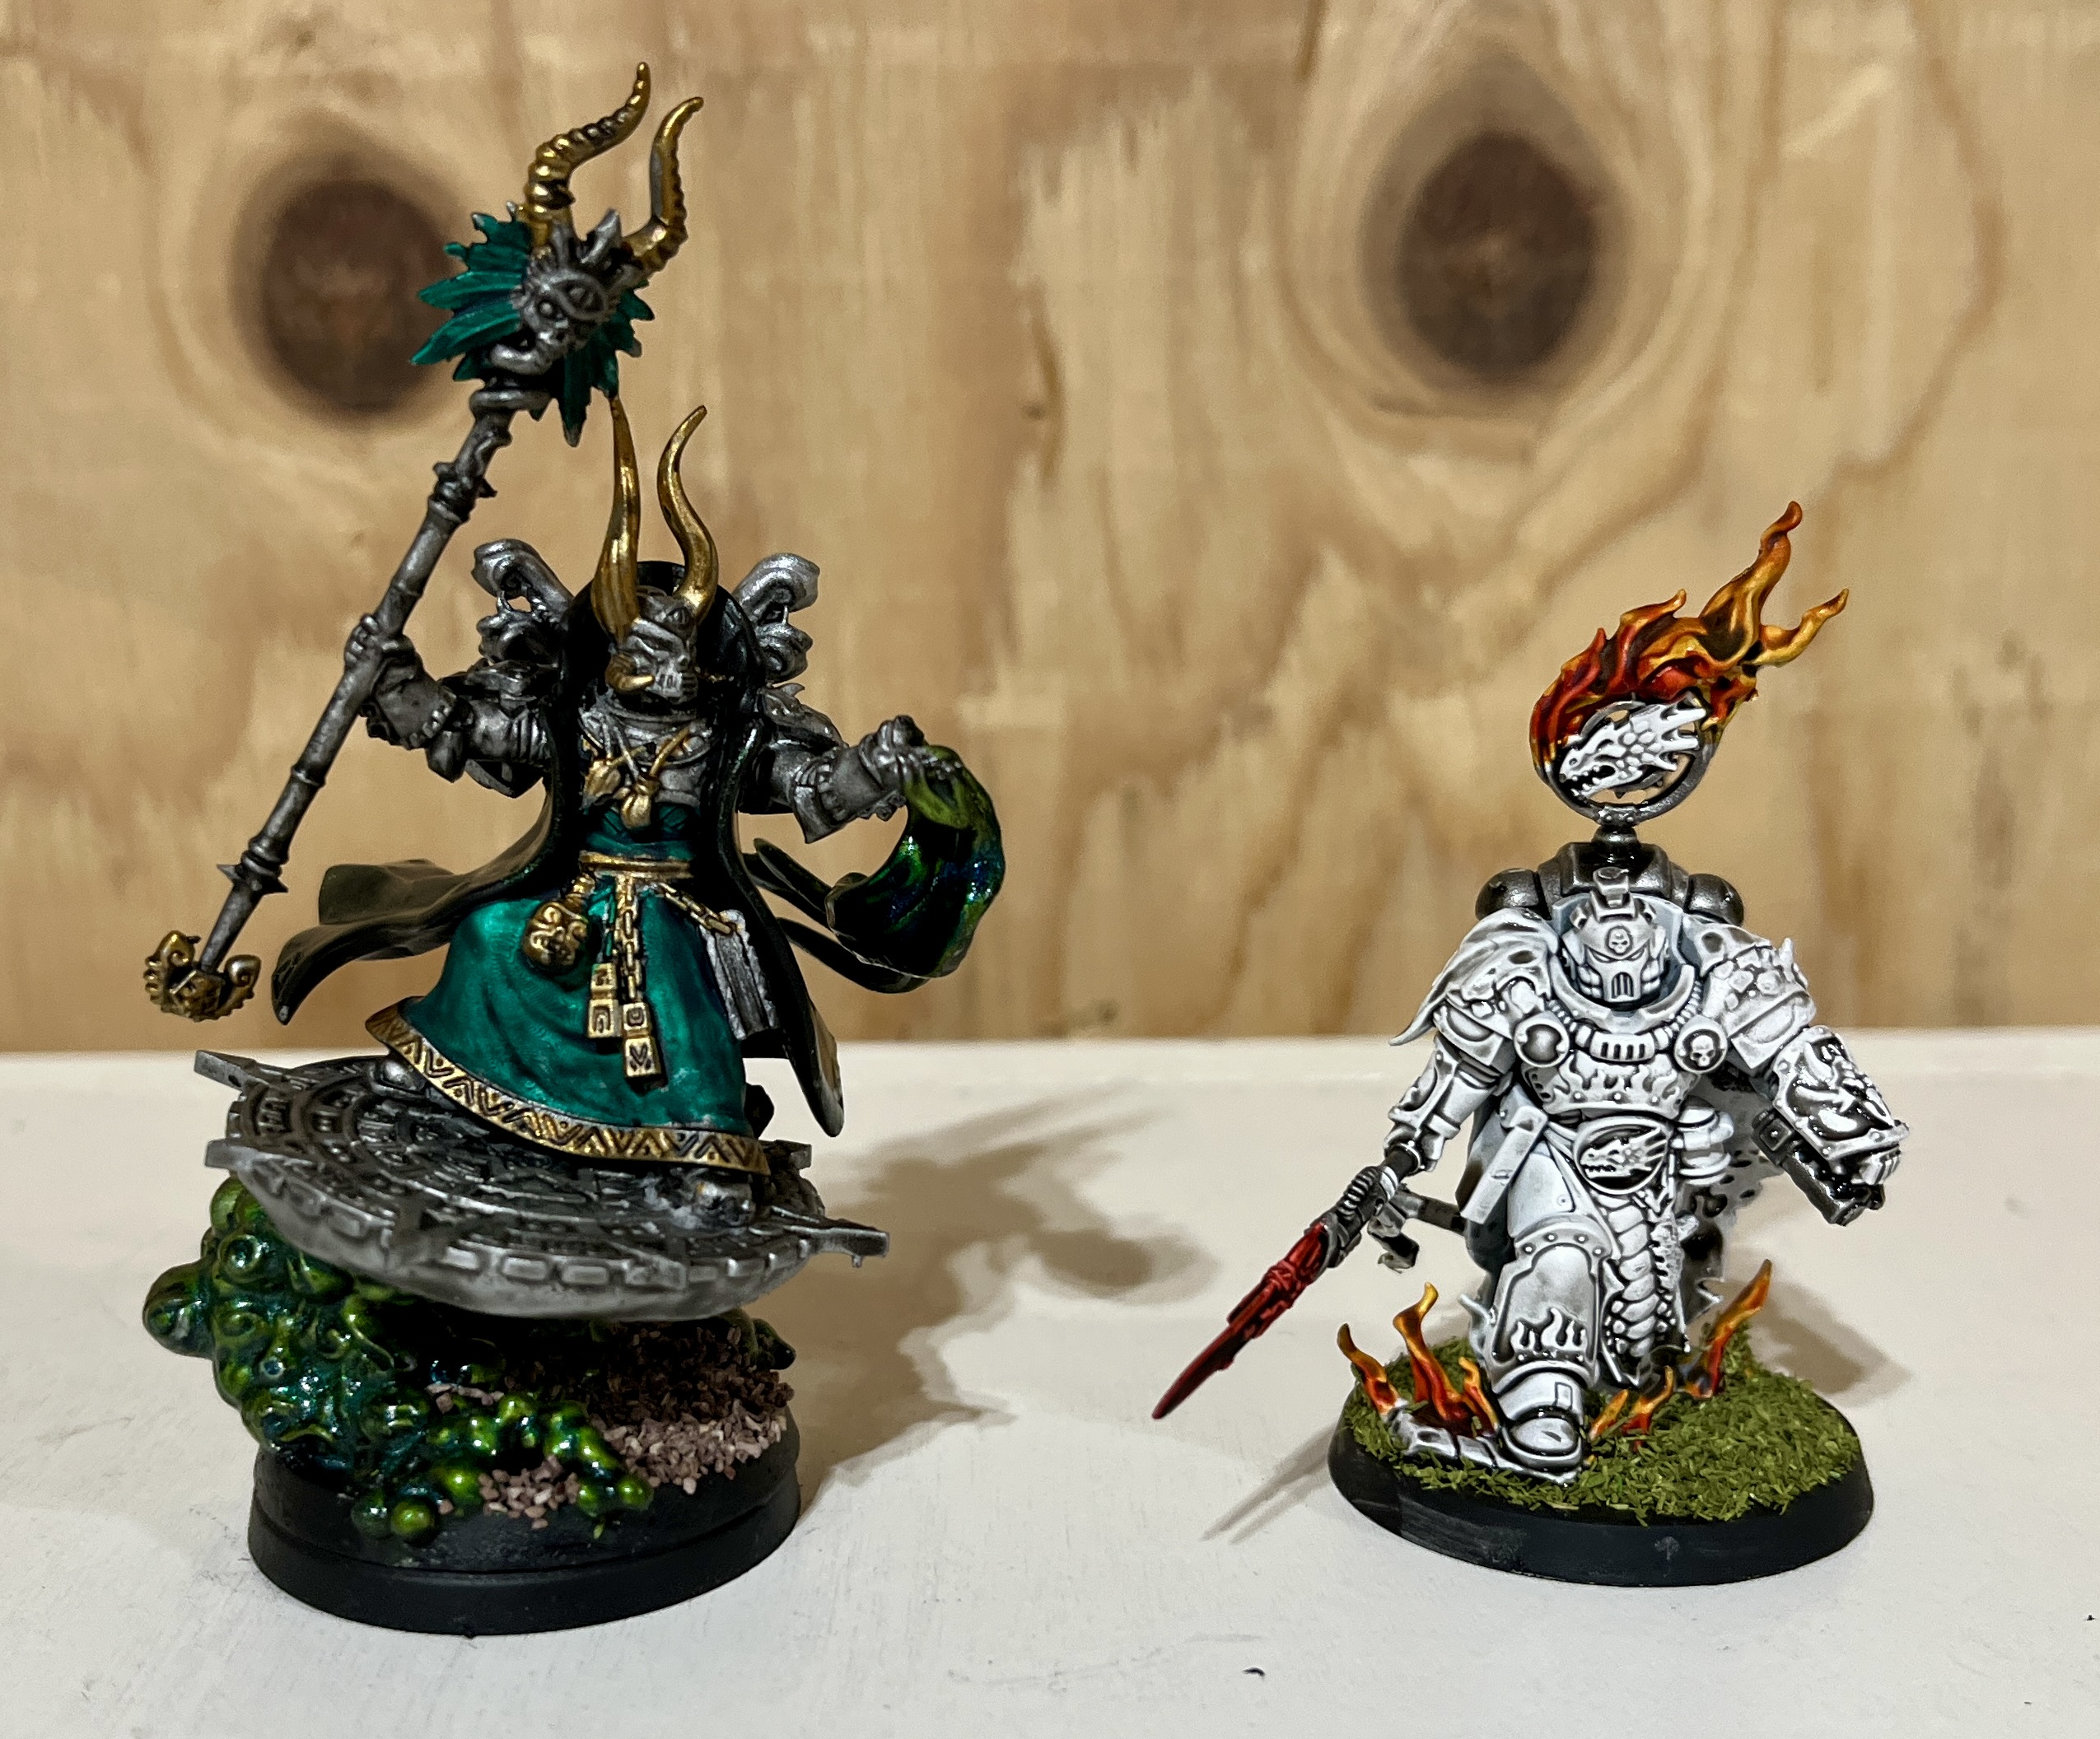
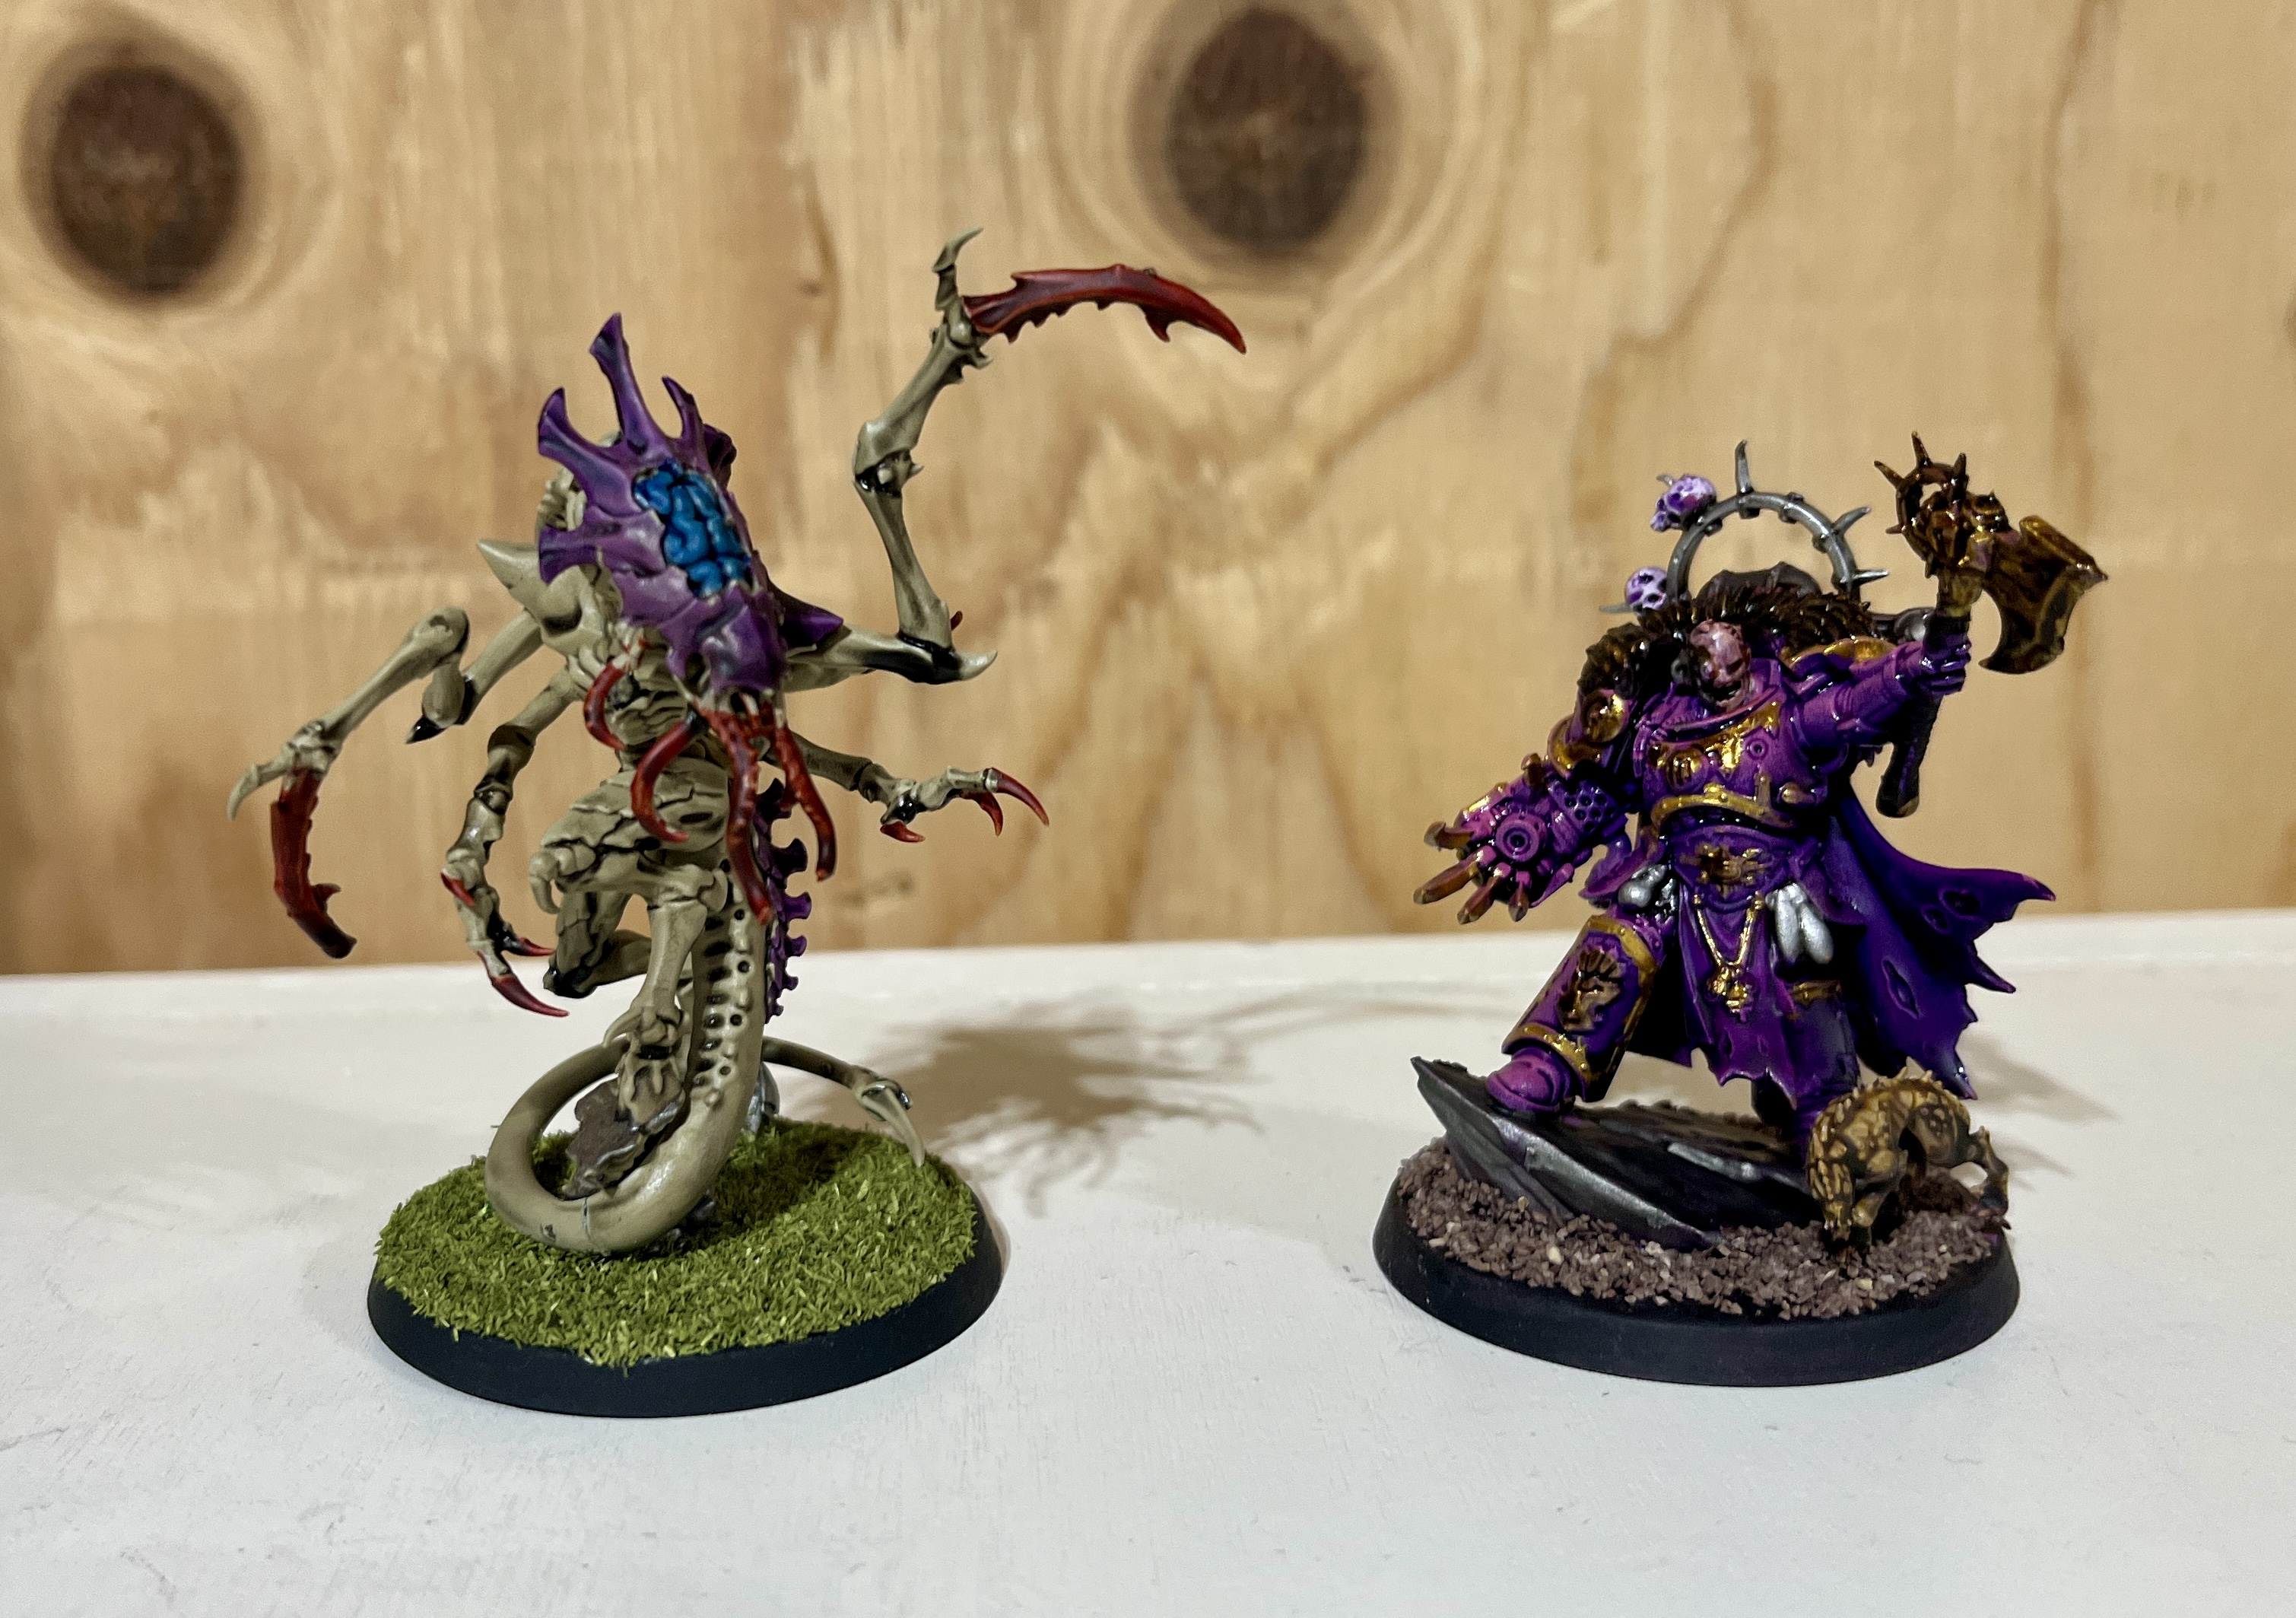
This post will focus on the first batch of 3 models that I built and painted, the Winged Daemon Princes. I deliberately chose to start with them as they are the largest of the models and closest to my comfort zone as I have a process that I feel good about for painting things like flesh.
But, before I start in on the painting process…..we have the first mistake of this journey. I was following the directions to build the Winged Damon Princes and got well into adding the arms and armor to the models before I realized that the directions had multiple sections that addressed building the Daemon Prince for either the 40K or Age of Sigmar variant, and that I was following the AoS variant instructions. Rather than trying to take it apart and repeat steps, I decided to go with it as I actually like the look of the AoS variant, which doesn’t have the Infernal Cannon and has different torso armor.
The Winged Daemon Princes are also the models that inspired the bickerfest that Steve and I discussed in Episode 12 of our podcast, as our approaches to painting flesh and armor immediately differs from each other, which is due in large part to the skill gap between us when it comes to painting. My process for flesh is very dependent on washes as a way to compensate for how much my hands shake when I paint, which really limits my ability to delicately highlight small details. To address this, I followed a bit of a “tried and true” in that I zenithal primed the 3 models with Chaos Black and then White Scar spray primer. This caused the details to pop so that I could see them and move on to deciding what to paint next.
For the flesh, I then decided to try a technique that I had seen used on YouTube, which mimicked how Steve talked about building up color depth, but with a product that I felt much more comfortable with. The process was to use differing washes over a zenithal priming to add depth and color to the flesh while also continuing to accentuate the details. In my case, I started by washing all 3 models with Nuln Oil. This added a darker tone to the models that I absolutely love and further accentuated the details, which is shown below.

I then applied colored washes next to start coloring the flesh and to get away from a pure white tone. I deliberately chose 3 different colors as I wanted to see how all 3 would turn out and so that the models had some differentiation between them that I could utilize to distinguish them during gameplay. The 3 colors that I chose were Reikland Felshshade for a light brownish tone, Druchii Violet for a purple tone, and Drakenhof Nightshade for a blueish-grey tone.
Once the flesh was washed and the shade had dried, I moved on to painting the wing membranes. I knew that I wanted these to be darker than the flesh, but to still be able to see the various details and wrinkles in the membranes. To accomplish this, I turned to contrast paints, but added a wrinkle by blending them to get darker tones. The contrast paints were then applied to the membranes only so that the various wing ridges and flesh was kept lighter. The specific blends used were a 50/50 of Black Templar with Asurmen Blue for the Drakenhof WDP, a 50/50 of Army Painter Purple Swarm with Grim Black, and a 50/50 blend of Army Painter Grim Black with Satchel Brown. The end results are shown below.


Next up was the part that I was most intimidated by, which was painting the base armor layer with Kakophoni Purple. I added a new trick to my process at this step by incorporating a Wet Pallet to help me thin my paints and slowly covered the areas that I wanted to be purple in 2 thin coats. I then washed those in Rageshade Targor, which I ended up not liking as I felt it took a lot of the purple out of the base.
While I purple base was drying, I also added a layer of Sybarite Green to the loin cloth and Grim Black to the handle of the sword, horns, and talons. I also took a chance and used Asurmen Blue on the blade of the sword, which I then highlighted with Runefange Steel and washed with Drakenhof Nightshade for a cool blended blue-grey affect. Lastly, I also touched up all of the chains on the model with Runefang Steel as well.
Once the purple had dried, I moved on to a part that most folks hate but that I actually enjoy….Chaos Trim. I trimmed the model with Army Painter Glittering Gold before washing the trim with Agrax Earthshade to give it a weathered, bronze look that I absolutely love. I also added gold to the various bits dangling from the wings during this step. The final pictures are below.


Going forward, I probably should highlight the various details on the wings to make them pop and paint the eyes. The trouble is that my hand shakes so much that I can’t do this without it looking awful (ask me how many times I tried doing the brown model’s eyes only to have to wipe it clean after). I’ll call these good enough for now and see if Steve or YouTube have any tricks for how to do these steps without my shaking hands messing them up.

Leave a Reply